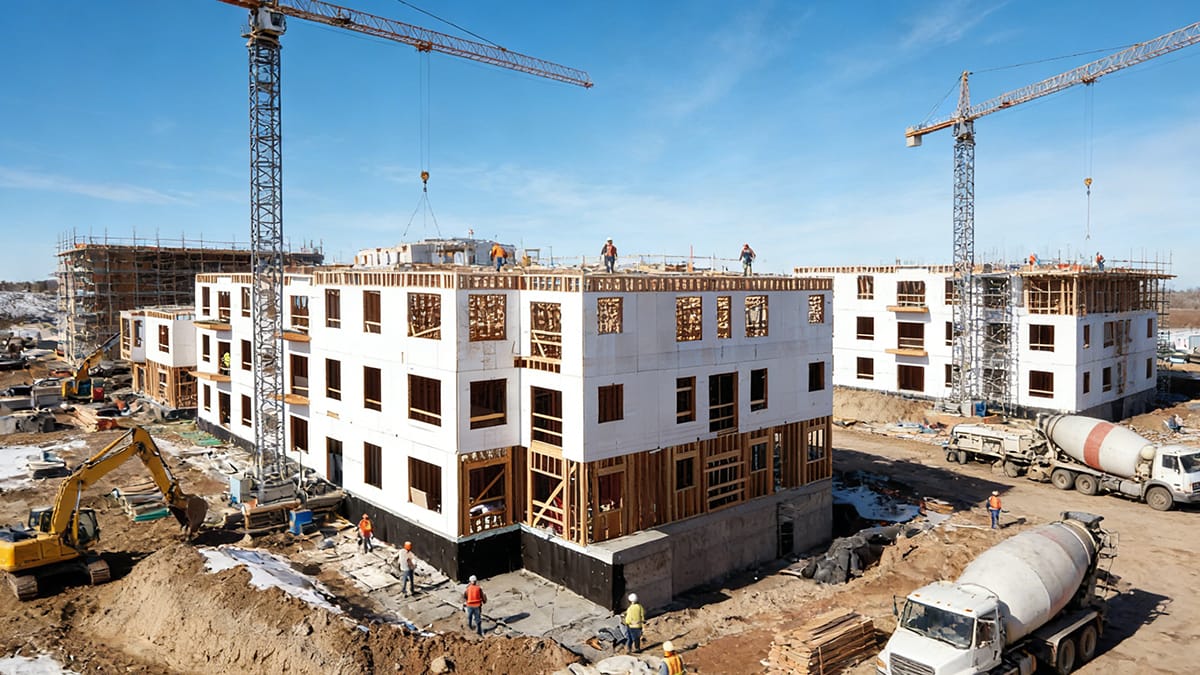
22 Apr Step-by-Step Guide to Installing Magnesium Oxide Panels on Exterior Walls
This guide shows you each step to install magnesium oxide panels for exterior walls. You will learn how following these steps makes your project strong and long-lasting. Magnesium oxide panels for exterior walls have clear benefits for outside use:
Fire resistance keeps your building safe from heat.
Moisture resistance stops water damage and mold.
Durability helps your walls last longer and need less fixing.
MGO panels for exterior walls also help your home save energy. If you follow every step, you will make a tough finish that can handle bad weather for many years.
Key Takeaways
Magnesium oxide panels are strong and resist fire and water. They work well for outside walls.
Clean your work area before you start. Let the panels sit for 48 hours so they do not bend.
Use the correct tools and wear safety gear. Safety glasses and dust masks help keep you safe.
Put fasteners in the right spots and sink them properly. This keeps the panels tight and stops cracks.
Seal all edges and joints with a moisture-resistant sealant. This keeps water out and helps the panels last longer.
Tools & Materials for Magnesium Oxide Board Installation
You need to get the right tools and materials before you start. The right equipment helps you work safely. It also makes your installation strong and last a long time. If you follow these steps, your building will keep its energy efficiency.
Essential Tools Checklist
You need different tools for measuring, cutting, and fastening mgo panels. The table below lists the main things you need for your project:
Safety Glasses |
Dust Mask |
Gloves |
Putty Knife |
Saw Horses |
Square |
Carbide Tipped Scoring Knife |
Fiber Cement Shears |
Dust Reducing Circular Saw |
Polyurea or Modified Epoxy Seam Filler |
Underlayment |
Fasteners (varies by application) |
Adhesive (ASTM D3498 compliant) |
Tip: Always wear safety glasses, a dust mask, and gloves when you cut or touch mgo boards. These items keep you safe from dust and sharp edges.
Materials and Accessories
You need more than just tools to do the job well. Make sure you have these materials and accessories ready:
Magnesium oxide boards in the right size and thickness for your walls.
Fasteners that fit your wall type and meet building codes.
Joint tape or seam filler to seal the spaces between mgo boards.
Weather barrier and flashing to stop water from getting in.
Good sealant for all the edges and joints.
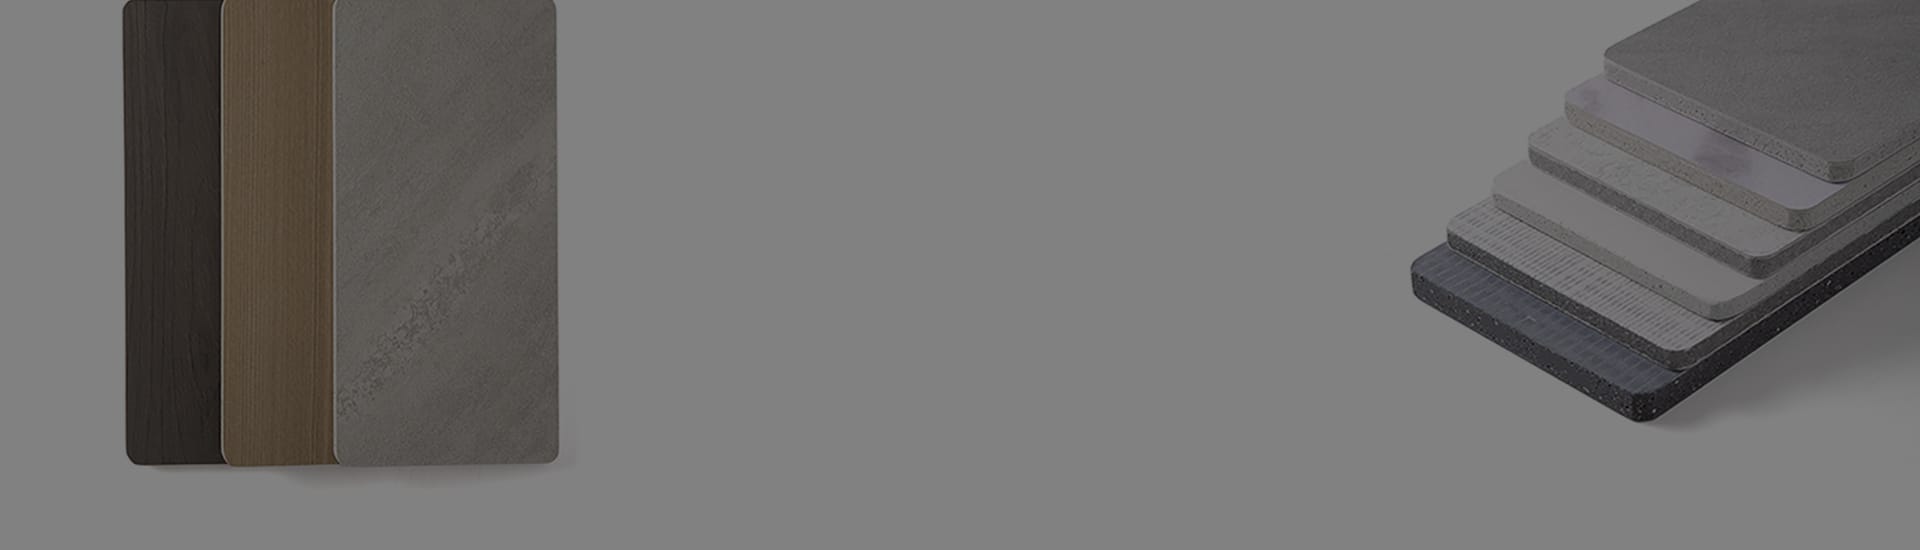
Paint or coating for the final look.
Store your magnesium oxide boards the right way before you use them. Lay the boards flat on wood or mats, not on the ground. Keep them in a cool, dry place away from sun and wet air. Carry the boards on their side to protect the edges and corners. Do not put heavy things on top. Let the boards sit in the work area for at least 48 hours. This helps stop warping and damage.
When you get your tools, materials, and storage area ready, you make installing mgo panels easier and safer.
Preparing Walls for MGO Board Installation
 Cleaning and Inspecting Surfaces
 Cleaning and Inspecting Surfaces
You need to start with a clean wall. Dust, dirt, and old paint can stop magnesium oxide boards from sticking well. Use a broom or brush to sweep away loose debris. Wipe the wall with a damp cloth to remove any leftover dust. Look for cracks, holes, or uneven spots. Fill any gaps with patching compound and let it dry. Check for mold or mildew. If you see any, clean it with a mild cleaner and let the wall dry fully. A smooth, dry surface helps mgo panels stay flat and strong.
Tip: Take your time to inspect every part of the wall. Small problems can cause big issues later if you do not fix them now.
Acclimating and Handling Boards
Magnesium oxide boards need time to adjust to your work area. This step helps prevent bowing or cracking after you install the boards. Follow these steps to get the best results:
Remove all packaging from the mgo boards before you start.
Place the boards flat in the room where you will install them.
Let the boards sit for at least 48 hours. For best results, wait 3 to 5 days.
Make sure the room has the same temperature and humidity as when you will use the space.
Turn on the HVAC system at least 72 hours before you bring in the boards.
Leave a small space between each board during acclimation.
Handle mgo boards with care. Carry each board on its edge to avoid breaking the corners. Do not stack heavy items on top of the boards. These steps help keep the boards straight and ready for installation.
Note: Proper acclimation protects your project from future problems like warping or cracks. Taking these steps now saves you time and money later.
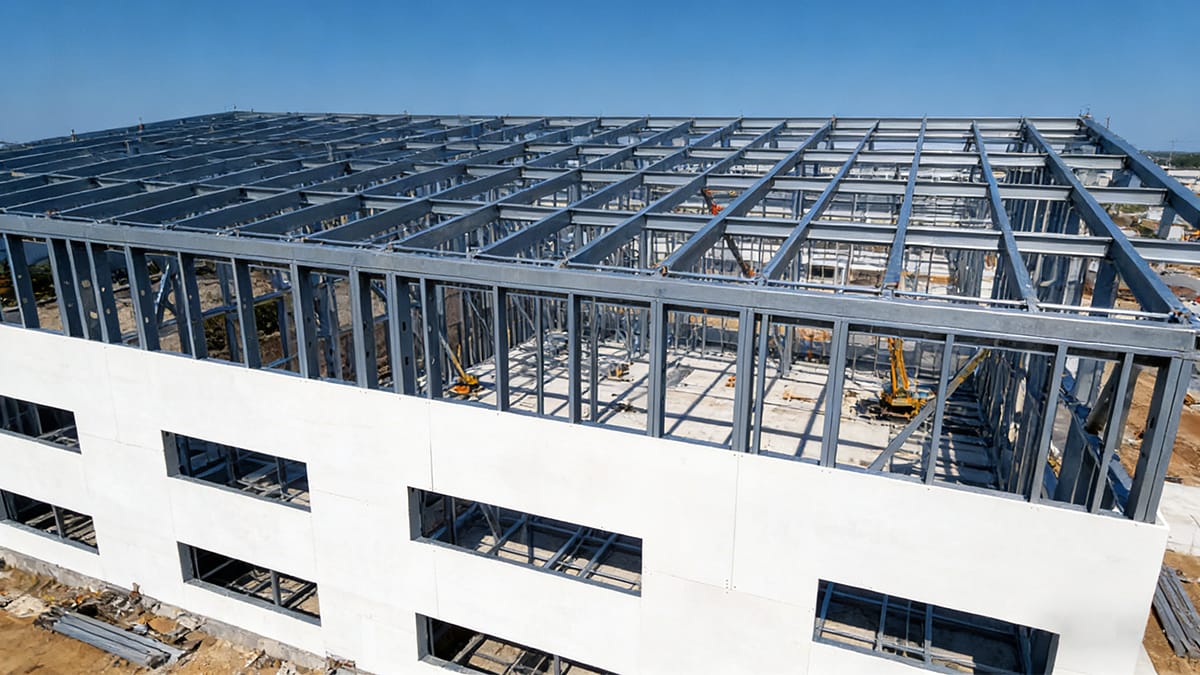
Layout Planning for Magnesium Oxide Panels for Exterior Walls
Measuring and Marking Stud Centers
You need to start layout planning by measuring and marking stud centers. This step helps you create a strong base for exterior wall construction. Use a tape measure to check the distance between each stud. Most exterior walls use 16-inch centers. Mark each stud with a pencil or chalk. Make sure the framing is straight and the spacing between keels is even. If you support the ends of magnesium oxide boards with joists, you prevent sagging and keep the panels flat.
Tip: Double-check your marks before you install any mgo panels. Accurate marking makes the next steps easier and helps your panels stay secure.
Panel Orientation and Expansion Gaps
Next, plan how you will place the panels. Always stagger the boards so the seams do not line up. This method strengthens exterior wall construction and reduces the risk of cracks. Place magnesium oxide boards with the smooth side facing out. Leave expansion gaps between panels and at the perimeter. These gaps allow the boards to move when the weather changes.
For wood framing, leave a gap of 1/8 inch (about 3 mm) between boards.
For steel framing, keep a gap of 1/16 inch (about 1.5 mm) between boards.
At the perimeter, always maintain a 6 mm gap where boards meet walls or fixed parts.
You must seal all edges after cutting. This step stops moisture from getting inside and protects your mgo panels. Using corrosion-resistant fasteners ensures a secure attachment. Proper layout planning helps magnesium oxide boards maintain dimensional stability. You will see fewer repairs and lower life-cycle costs. The durability of mgo panels adds years to your exterior wall construction.
Note: Careful layout planning improves the performance of your walls. It prevents warping, expansion, and moisture problems.
Cutting and Fitting Magnesium Oxide Boards
Safe Cutting Methods
 Safe Cutting Methods
You need to use the right steps when you cut mgo boards. This keeps you safe and gives you clean edges. Follow these steps for the best results:
Wear protective gear. Put on safety glasses, a dust mask, and gloves before you start.
Choose the right tools. Use a circular saw with a carbide-tipped blade for thick boards. For thin boards, a utility knife works well.
Measure and mark your cuts carefully. Double-check your lines to avoid mistakes.
Cut in a well-ventilated area. Open windows or work outside to keep dust away from your face.
Finish the edges smoothly. Use sandpaper or a file to remove rough spots after cutting.
You should always follow these steps when cutting mgo board. This helps you avoid chipped edges and keeps your work area safe.
Tip: Take your time with each cut. Rushing can lead to mistakes or injuries.
Smoothing Edges and Dust Control
After you cut mgo panels, you need to smooth the edges. Sand the cut sides gently with a sanding block or file. This step helps the boards fit together without gaps. Clean edges also make joint treatment easier.
Dust control is important for your health and the environment. You should always wear the right safety gear when you work with mgo. The table below shows what you need and why:
Safety Gear | Purpose |
|---|---|
Safety glasses | Protect your eyes from mgo dust |
Dust mask or respirator | Keep mgo particles out of your lungs |
Gloves | Shield your hands from sharp mgo edges |
Ear protection | Reduce noise from cutting mgo |
Long sleeves | Cover your skin from mgo dust |
Sweep up dust often and use a vacuum with a HEPA filter if you can. This keeps your space clean and safe. Always wash your hands and face after you finish working with mgo.
Note: Good dust control helps you breathe easier and keeps your work area tidy.
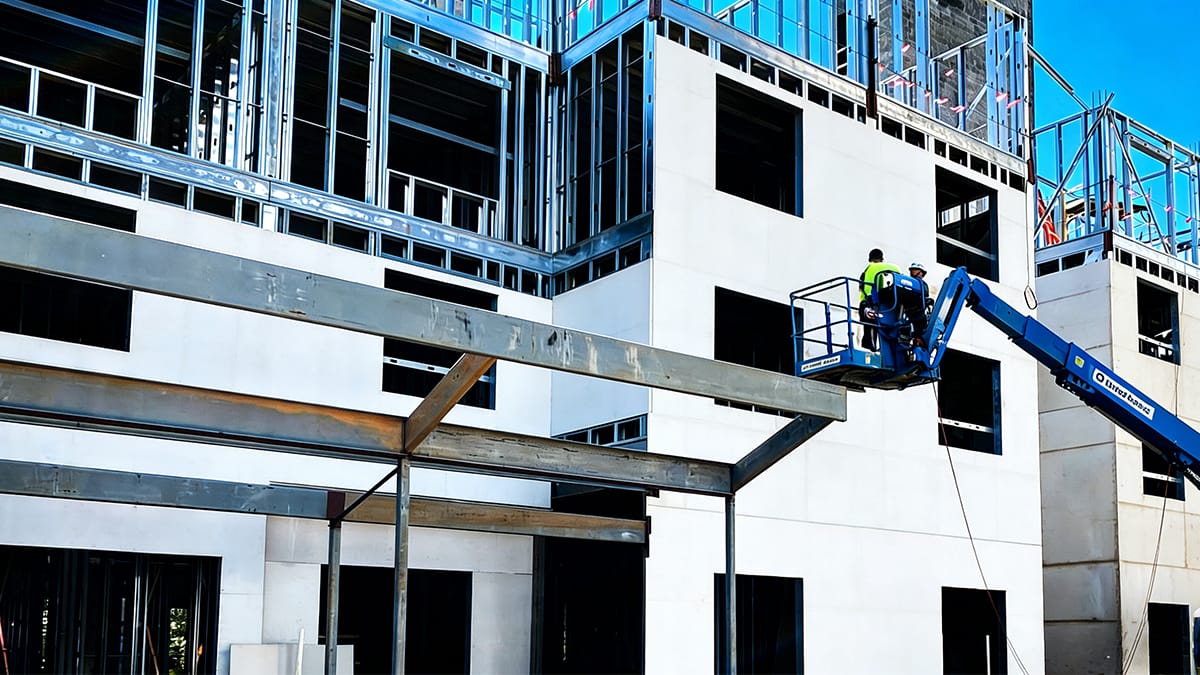
MGO Board Installation Instructions: Fastening & Placement
Positioning the First Panel
You need to start the installation process by placing the first magnesium oxide board at the bottom corner of your wall. Make sure the board sits level before you attach it. Use a spirit level to check both the top and side edges. A level first panel helps every other board line up straight.
Hold the board so the edges line up with your marked stud centers. Leave the correct expansion gap at the perimeter. For most projects, a 1/8-inch gap works well. This space lets the board expand and contract with changes in temperature and humidity.
Tip: Always support the ends of the board with framing or joists. This keeps the panel from sagging or cracking over time.
Fastener Spacing and Countersinking
You must use the right fasteners for a strong and long-lasting installation. Choose corrosion-resistant screws, such as 316-stainless steel or ceramic-coated fasteners. For wood studs, use #8 flat head fasteners with high/low threads. For metal studs, use #8 flat head screws with nibs under the head. These nibs help you countersink the screws for a flush finish.
Follow these steps for proper fastener placement:
Place fasteners no closer than 4 inches from any corner.
Space perimeter fasteners 6 inches apart.
Space center fasteners 12 inches apart.
Keep each fastener about 9/16 inch from the board edge.
Do not drive fasteners at an angle. Keep them straight for the best hold.
Start fastening at one side of the board and move across to the other side. This method spreads out the stress and keeps the board flat. Slightly countersink each fastener so the head sits just below the surface. This makes finishing easier and gives a smooth look.
Fastener Placement Guide | Measurement |
|---|---|
Distance from corners | 4 inches minimum |
Perimeter fastener spacing | 6 inches |
Center fastener spacing | 12 inches |
Distance from board edge | 9/16 inch |
Note: Proper fastener spacing and countersinking help prevent cracks and keep your magnesium oxide boards secure.
Installing Additional Panels
After you secure the first panel, you can continue installing magnesium oxide boards along the wall. Always check that the temperature and humidity in your work area stay steady. This helps the boards stay flat and reduces movement after installation.
When you place the next panel, keep a consistent gap of 1/8 inch between sheets. This gap allows for expansion and contraction. Use a spacer or a scrap piece of board to keep the gap even. Make sure each new panel lines up with the stud centers and that the ends rest on solid framing.
For each panel, repeat the fastening steps:
Hold the panel in place with the correct gap.
Start fastening at one side and move across.
Use the same fastener spacing as before.
Slightly countersink each fastener.
If you need to fill gaps, use a flexible sealant like Manus-Bond 75-AM. For a smooth finish, apply fiberglass tape over the joints and embed it in a sandable joint compound. This step helps seal the seams and prepares the wall for the next stage of mgo board installation.
Tip: Always support the ends of each panel with framing. This keeps your installation strong and prevents future repairs.
You can follow these installation instructions to make sure your magnesium oxide panels for exterior walls stay secure and weather-resistant. Careful placement and fastening are key parts of the mgo board installation process. By following these steps, you will get a durable and professional result when installing magnesium oxide boards.
Joint Treatment for Magnesium Oxide Panels
Applying Joint Tape or Sealant
 Applying Joint Tape or Sealant
You must treat the joints between magnesium oxide panels. This keeps your walls strong and safe from weather. First, clean the surface and take off dust or old stuff. Make sure the wall is flat by fixing any bumps. Check that the studs are straight and spaced right. Leave small gaps between panels for movement. Use corrosion-resistant fasteners but do not make them too tight.
There are different joint tapes and sealants you can use. The table below shows which ones are best for outside walls:
Type of Joint Tape/Sealant | Description |
|---|---|
Fiberglass Mesh Tape | Recommended for applying over seams between magnesium oxide boards for a smooth finish. |
High-Quality Joint Compound | Suitable for MgO boards, applied over the tape to ensure a seamless look. |
Moisture-Resistant Sealant | Essential for weatherproofing MgO boards in exterior applications to protect against moisture. |
Put on primer before you finish. This helps the compound stick better. Fill all the gaps and cover screws with joint compound. Seal every edge and joint with good sealant. These steps keep water out and stop cracks in your mgo panels.
Tip: Always use moisture-resistant sealant on outside walls. This keeps your mgo panels safe from rain and wet air.
Smoothing and Finishing Joints
After you put on tape and compound, smooth the joints. Sand the compound gently so the wall feels flat. Make sure the wall looks clean and even. You can paint, tile, or put wallpaper on the wall when you finish.
Take your time with this part. Smooth joints help your mgo panels last longer and look nice. You stop cracks and keep water out. Your outside wall stays strong and safe from weather.
Note: Good joint treatment makes your wall look neat and protects your money.
Waterproofing and Moisture Management
Magnesium oxide boards are good at stopping moisture. But they do not make your wall fully waterproof. You need extra steps to keep water out. Add weather barriers and seal all the edges. This helps your walls last longer and stay strong. It also keeps your home energy efficient. If you skip these steps, you might get leaks or mold.
Weather Barriers and Flashing
Always put a weather barrier behind your mgo panels. This layer blocks water from getting inside the wall. Flashing moves water away from seams and openings. Here are some top weather barriers and flashing options:
Product Name | Description |
|---|---|
A system for exterior walls that adds fire safety and energy efficiency. | |
DuPont™ LiquidArmor™ FJ Flashing and Joint Compound | A flashing and joint compound for sealing seams and joints. |
DuPont™ DuraGard™ WD Self-Adhered Flashing Tape | A tape that sticks to surfaces and blocks water. |
DuPont™ DuraGard™ CM Transition Flashing | Flashing for areas where two surfaces meet. |
DuPont™ ArmorSeal Sealant – Trowel Grade | A thick sealant for extra water protection. |
Put these products on before you install magnesium oxide boards. This gives your wall better waterproofing and mold resistance. It also helps keep your wall energy efficient.
Edge Sealing and Moisture Gaps
Edges and seams can let water in. You must seal every edge and joint of your mgo panels. Use a good sealant to fill gaps and cover seams. Leave small moisture gaps where needed. These gaps let water drain out so it does not get trapped. The table below explains why extra waterproofing is important for mgo:
Limitation | Explanation |
|---|---|
Long water exposure can let water soak in. | |
Edges and seams are vulnerable | These spots need sealing to stop moisture damage. |
Surface treatment may be needed | In wet areas, you may need extra coatings or membranes. |
If you seal all the edges and use the right weather barriers, your wall gets stronger and lasts longer. You also stop leaks and mold from growing. Good waterproofing and mold resistance help your wall stay safe and save energy.
Tip: Always seal the edges. This step protects your wall and keeps your magnesium oxide boards working well.
Finishing Magnesium Oxide Boards for Exterior Use
Painting and Coating Options
You want your magnesium oxide boards to last outside. First, use a primer made for alkaline surfaces. This helps the paint stick better and keeps the finish strong. Pick a primer that works on concrete or masonry. These primers work well on mgo surfaces.
Choose a good latex or acrylic paint for the top layer. Put on two coats for the best protection. Some special paints stick to magnesium oxide boards and block UV rays. This keeps your walls looking nice in the sun. Always let the primer dry before you paint. You can use a brush, roller, or sprayer to cover the boards evenly.
Use a primer for alkaline surfaces.
Pick latex or acrylic paint for the top layer.
Put on two coats for more strength.
Choose paints that block UV rays.
Let each coat dry before adding another.
Tip: Good painting helps your magnesium oxide panels for exterior walls fight bad weather and fading.
Applying Texture Finishes
You can add texture to your magnesium oxide panels for exterior walls for a special look. Start with a primer made for concrete or masonry. This helps the texture stick to the mgo surface.
Many finishes work well with magnesium oxide boards. You can use acrylic stucco topcoats or cement base coats with polymers. These finishes make your walls stronger and block UV rays. They also help your walls stand up to tough weather.
Prime the surface before adding texture.
Use acrylic stucco or polymer cement for the finish.
These finishes add strength and UV protection.
Note: Texture finishes make your mgo walls look better and last longer.
You can pick paint, texture, or both. Each choice protects your magnesium oxide panels for exterior walls and gives you a strong, nice-looking finish.
Safety Tips for MGO Board Installation
Personal Protective Equipment
You must protect yourself when working with magnesium oxide boards. These panels can create dust and sharp edges during installation. You need to wear the right gear to stay safe. The table below shows what you should use and why:
Personal Protective Equipment | Purpose |
|---|---|
Protects eyes from flying debris | |
Dust mask or respirator | Prevents inhalation of fine particles |
Protective gloves | Prevents cuts or abrasions |
Long sleeves and pants | Reduces skin exposure |
You should always put on safety glasses before you cut or sand mgo. A dust mask or respirator keeps fine particles out of your lungs. Gloves protect your hands from sharp edges. Long sleeves and pants cover your skin and help prevent irritation. This gear helps you work safely and keeps you healthy.
Tip: Change your dust mask often. Clean your safety glasses after each use.
Safe Handling and Site Cleanliness
You need to handle mgo with care. Carry each board upright to avoid breaking the corners. Do not drag magnesium oxide boards across rough surfaces. This can damage the edges and make the panels weak. Store the boards flat on a dry surface. Keep heavy objects off the stack.
A clean work area helps you avoid accidents. Sweep up dust and scraps after each step. Use a vacuum with a HEPA filter to remove fine mgo dust. Wash your hands and face after handling the boards. Good site cleanliness protects your health and keeps your project on track.
You also help energy efficiency when you keep the site clean. Dust and debris can block air flow and affect insulation. Clean workspaces let you seal joints and edges better. This improves the energy efficiency of your building. When you follow these safety tips, you protect yourself and make your installation last longer. You also support the energy efficiency of your home or business.
Note: Safe handling and a tidy site make your work easier and your results better.
You can make your exterior last a long time if you follow these important steps for magnesium oxide panels for exterior walls: First, put each mgo board in the right spot and make sure it is straight. Next, use the right fasteners and leave small gaps for the boards to move. Then, cover all the joints and seal the wall to keep water out.
Always clean the wall and get it ready before you start.
Follow all safety rules and listen to what the maker says.
Check your magnesium oxide boards often to see if they are damaged.
If you pay close attention to these steps with mgo, your wall will stay strong, keep out water, and need little fixing for many years.
FAQ
How long does it take to install magnesium oxide panels on exterior walls?
You can usually finish installing panels on a standard wall in one to two days. The time depends on your wall size, weather, and your experience with tools.
Can you cut magnesium oxide panels with regular tools?
You can cut these panels with a carbide-tipped saw or a scoring knife. Always wear safety gear. Use a dust mask and goggles to protect yourself from dust.
Do you need to seal the edges of every panel?
Yes. You must seal all edges and joints. This step keeps water out and helps your wall last longer.
What kind of paint works best on magnesium oxide panels?
You should use a high-quality latex or acrylic paint. Always apply a primer first. Two coats of paint give the best protection.
Are magnesium oxide panels safe for people with allergies?
Yes. These panels do not support mold growth. They do not release harmful chemicals, so they are safe for people with allergies.