18 Apr How to Install Magnesium Oxide Panels for Exterior Walls
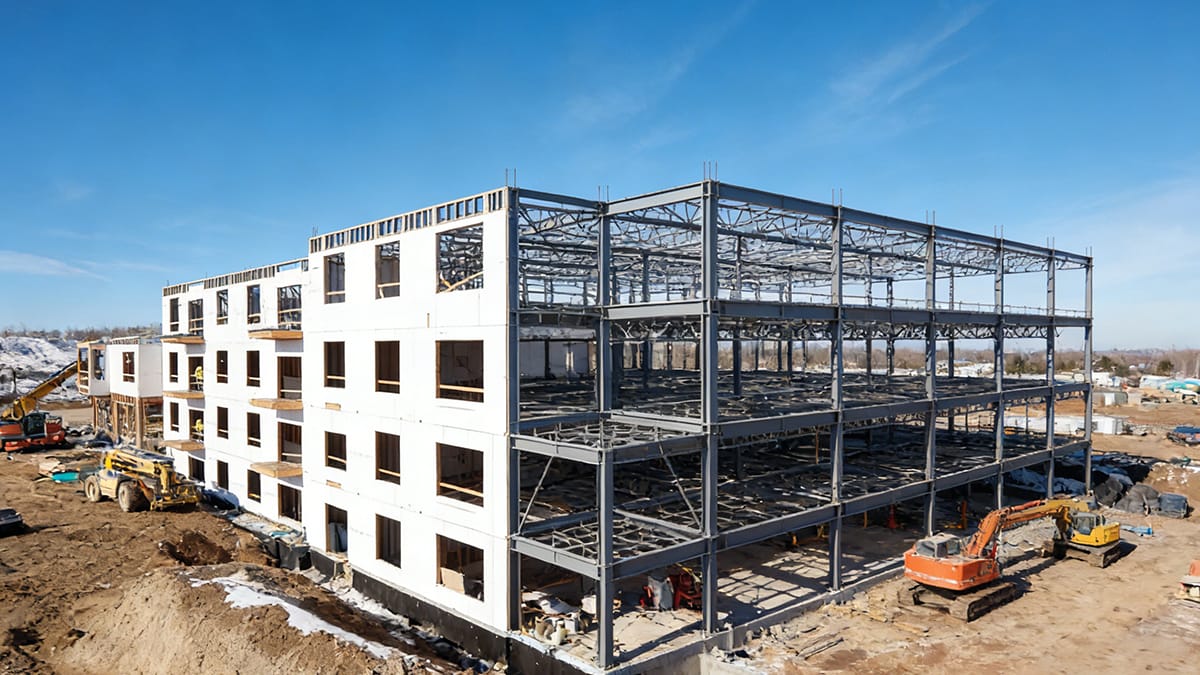
When you choose magnesium oxide panels for exterior walls, you are making a smart decision for safety and durability. Many builders are now opting for these panels due to stringent fire safety regulations, especially in urban areas and high-rise buildings.
An increasing number of people prefer magnesium oxide panels for exterior walls because of their fire resistance.
Over 75% of city walls must comply with strict fire codes, and these panels assist in meeting those requirements.
Modular construction frequently utilizes non-combustible sheathing.
To install them properly, you need to follow specific steps. Allow the panels to acclimate to the weather conditions first. Secure and seal them meticulously to prevent water intrusion and damage. Always clean the exterior wall before starting the installation. Adhere to the correct procedures and safety guidelines to ensure robust walls.
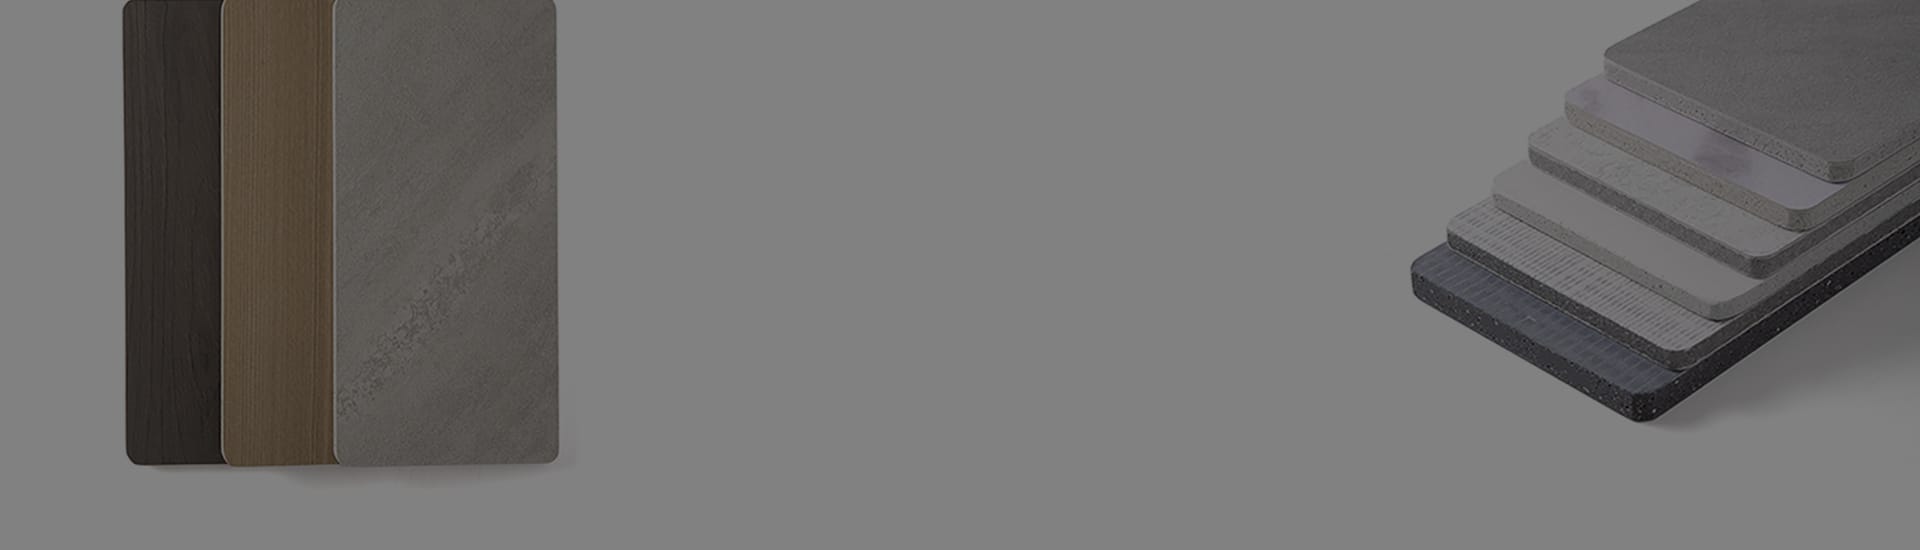
Benefit | Magnesium Oxide Panels for Exterior Walls | Traditional Materials (Plywood/OSB) |
|---|---|---|
Durability | High | Moderate (can bend or crack) |
Fire Resistance | Non-combustible | Combustible (can catch fire) |
Moisture Resistance | Excellent | Poor (can rot and grow mold) |
Environmental Impact | Sustainable | Often made from chemicals |
Installation Ease | Lightweight | Heavier (needs more work) |
Key Takeaways
Magnesium oxide panels are very good at stopping fires. This makes them great for city buildings with tough safety rules.
To install them right, you need to clean the wall first. Let the panels get used to the area. Use the correct tools and materials. This helps them last longer and keeps out water.
It is very important to seal the edges and joints. This stops water from getting in. It also keeps out mold and makes the building warmer.
You should check and seal the panels often. This helps them last longer and saves money on repairs.
Always wear safety gear when you put them in. This keeps you safe from dust and sharp edges. It makes the work area safer.
Tools & Materials for Installation
Essential Tools
You need certain tools to put up magnesium oxide boards. These tools help you cut, measure, and attach the panels. This makes the walls strong and safe. Here are the tools you need before you begin:
Use a circular saw to cut panels.
Use a utility knife to trim edges.
Use a drill or hammer to fasten panels.
Use joint tape for panel seams.
Use a spirit level to keep panels straight.
Use corrosion-resistant fasteners to attach panels.
Use adhesives and sealants for extra strength.
Wear safety gear to protect yourself.
These tools help you work safely and get good results. Always check your tools to make sure they work right.
Materials Checklist
You need special materials to install magnesium oxide boards. These materials help the panels last longer and stay strong. They also protect against moisture and fire. Here is a quick list:
Fastener Type | Material/Coating |
|---|---|
Traditional MgO board fasteners | 316-stainless steel |
Alternative fasteners | Ceramic coated for cement board |
Magpanel MGO boards fasteners | 4.8 x 42mm Bi-Metal Drywall Screws |
Use corrosion-resistant screws with self-boring heads. Use drywall screws with a phosphoric coating. Cementitious fillers and joint tape seal gaps and help insulation. Pick materials that fit your project needs.
Safety Gear
Safety matters when you work with magnesium oxide boards. You must protect yourself from dust and sharp edges. The right safety gear keeps you safe while you cut and install. Here is a table of what you need and why:
Safety Gear | Purpose |
|---|---|
Safety glasses or goggles | Protect eyes from flying debris |
Dust mask or respirator | Avoid breathing in tiny particles |
Protective gloves | Stop cuts or scrapes when handling boards |
Long sleeves and pants | Cover skin during cutting and installation |
Wear all safety gear before you start working. This helps stop injuries and keeps you healthy. Good safety habits help you finish your project without trouble.
Preparing Exterior Walls for Magnesium Oxide Boards
 Cleaning Wall Surface
 Cleaning Wall Surface
First, make sure the wall is clean. Take off dirt, dust, and loose paint. Use a stiff brush or vacuum to clear debris. If you see mold or mildew, wash it with mild cleaner. Let the wall dry after cleaning. Clean walls help magnesium oxide boards stick well. They also help the boards last longer. Look for cracks or holes in the wall. Fill them with patching compound. This step gives you a smooth base for your panels.
Panel Acclimation
Let magnesium oxide boards adjust before installing. Put the boards flat where you will install them. Leave them there for at least 48 hours. This helps boards match the temperature and humidity. Acclimation stops bending or shape changes. It also makes sure boards fit well and work as expected.
Tip: Keep magnesium oxide boards off the ground. Keep them away from moisture while they acclimate.
Acclimate boards for 48 hours so they adjust.
This stops warping and helps boards fit right.
Measuring & Layout Planning
Plan carefully to make installation easier. Measure the wall where you want to put magnesium oxide boards. Mark panel spots with pencil or chalk. Try to use full boards as much as you can. This cuts waste and looks neat. Check your lines with a level to keep them straight. Good planning helps you avoid mistakes and saves time.
Installation Steps for Magnesium Oxide Panels for Exterior Walls
Cutting Panels
You have to cut each magnesium oxide board so it fits. First, measure and mark where you want to cut with a pencil and ruler. Put the magnesium oxide board on a flat, steady table. Hold up big boards so they do not bend. If the magnesium oxide board is thin, use a utility knife to score the line. Then snap the board along the line. If the magnesium oxide board is thick, use a circular saw with a special blade. Push the saw slowly and do not rush. This helps stop the board from breaking. After you cut, smooth the edges with sandpaper or a file. Clean up dust with a vacuum or wet cloth. Always wear gloves, safety glasses, and a dust mask. Try to cut outside or use a saw that catches dust. These steps help you get neat edges and keep dust down.
Tip: Cut magnesium oxide boards outside or in a place with lots of fresh air. This keeps your work area safe and clean.
Positioning & Spacing
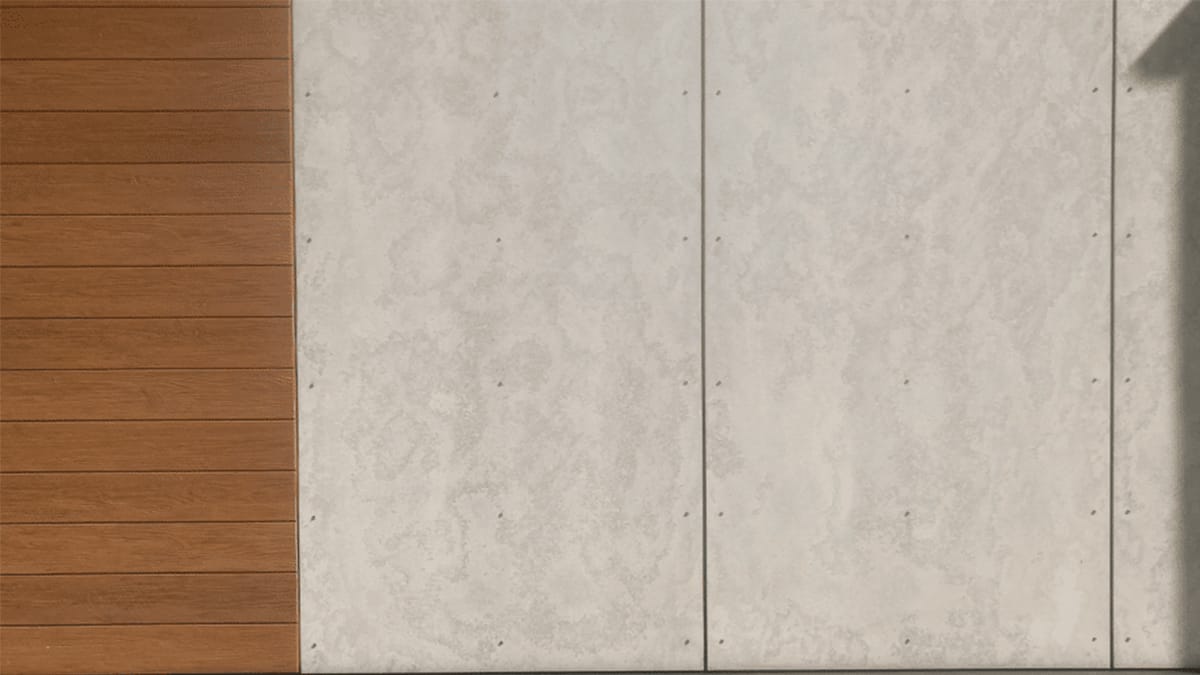
You need to put each magnesium oxide board in the right spot. Start at the bottom of the wall and move up. Place the first magnesium oxide board at the bottom edge. Use a level to make sure it is straight. Leave a small space between each magnesium oxide board so they can move. If you use steel framing, leave a 1/16-inch gap. If you use wood framing, leave a 1/8-inch gap. These spaces let the magnesium oxide boards grow and shrink when it gets hot or cold. This stops cracks and keeps your walls strong. Good spacing also helps stop water and mold.
Fastening with Corrosion-Resistant Screws
You have to attach each magnesium oxide board with corrosion-resistant screws. Use screws made for magnesium oxide boards, like 316-stainless steel or ceramic-coated ones. Put screws every 12 inches along the edges and in the middle of each magnesium oxide board. Do not make the screws too tight. The screw heads should be even with the surface. This keeps the magnesium oxide boards in place and helps with fire resistance. Cover the screw heads and fill small gaps with cementitious fillers. This gives extra insulation and makes the wall stronger. These steps help your walls stay fire-resistant and well insulated.
Note: Corrosion-resistant screws stop rust and help your walls last longer, even when it is wet outside.
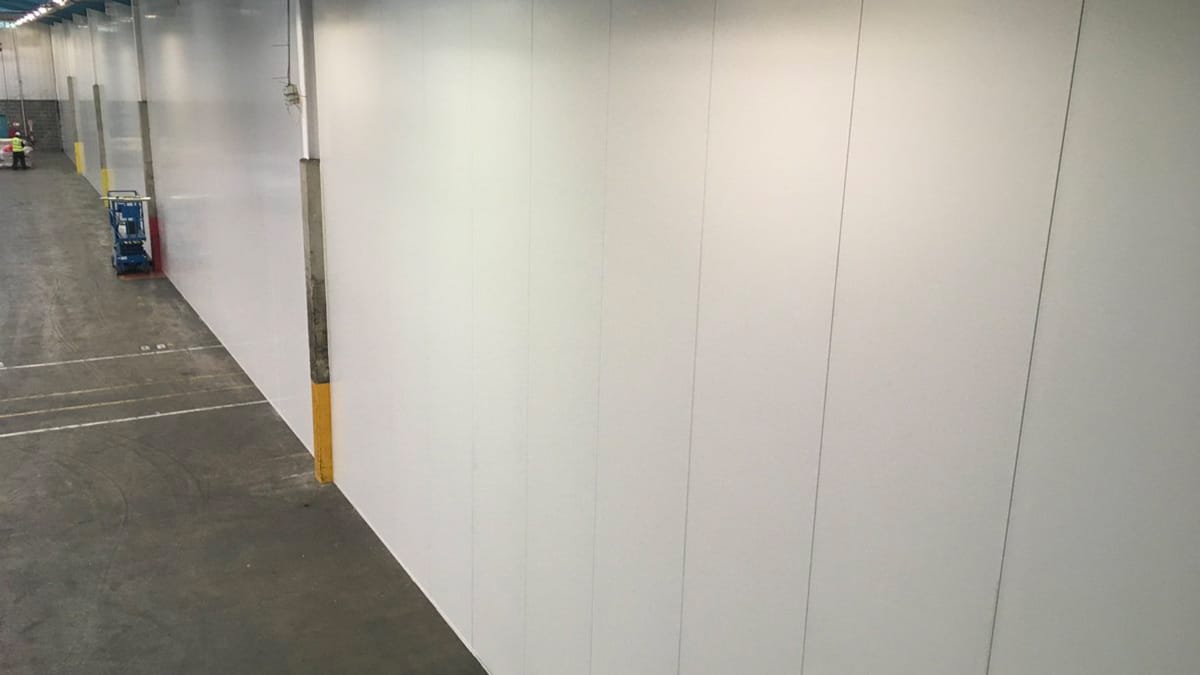
Sealing Edges & Joints
You need to seal all the edges and joints between each magnesium oxide board. Use joint tape and cementitious fillers to cover the seams. Put a good sealant along every edge and joint. Sealing makes a barrier that keeps water out from behind the magnesium oxide boards. This protects your walls from water and mold. It also helps stop fire and keeps your walls strong. Sealing the edges and joints makes the walls last longer and helps with insulation and fire resistance. Never skip this step when you install the boards.
Callout: Sealing edges and joints is very important for magnesium oxide board installation. It keeps water out, stops fire, and helps with insulation.
Now you can see how each step helps your exterior walls stay safe, strong, and fire-resistant. These ways of installing also help your walls last longer and stay good for the environment. When you follow these steps, your walls get the best fire resistance, insulation, and protection from water and mold. Mgo wall boards and magnesium oxide boards help you feel safe for many years.
Finishing & Sealing Magnesium Oxide Board
Painting & Coating
 Painting & Coating
You must finish magnesium oxide panels with the right paint and coating. First, sand the surface to make it smooth. Clean off all dust and dirt before you start. Use a primer made for concrete or masonry. This is important because magnesium oxide panels have an alkaline surface. The primer helps the paint stick better and last longer.
Pick high-quality acrylic or latex paint for the best results. These paints give strong color and protect the panels from weather. Use a roller for big areas and a brush for corners. Put the paint on in thin layers. Let each layer dry before adding another. You should use two coats of paint for good protection.
Best For | Durability | Finish | |
|---|---|---|---|
Acrylic Latex | Exterior walls | High | Matte/Satin |
Epoxy | Wet areas | Very High | Gloss |
Alkyd | High-traffic | High | Semi-gloss |
Tip: Two coats of acrylic or latex paint help your panels last longer and look better.
Waterproofing Methods
Waterproofing is very important for outside walls. Magnesium oxide panels are good at resisting moisture. They do not soak up water, so they do not bend or crack. This makes them a smart choice for bad weather. Always seal the panels before using them as outside cladding. Do not leave them without treatment.
Magnesium oxide panels keep your building safe from mold and mildew. They also help the environment because they last a long time and need fewer repairs. Their strength means you save money and help the planet. These panels also help save energy and make indoor air better.
Final Inspection
When you finish painting and sealing, check your work. Look for rough spots and sand them smooth. Make sure you cleaned all dust before painting. Check that you used the right primer and paint for magnesium oxide panels. Look at all edges and joints to see if you sealed them well. Good finishing steps protect your outside walls and make them look neat. Careful checking helps your project last longer and supports the environment.
Troubleshooting & Maintenance for Exterior Wall Sheathing
Preventing Warping & Cracking
 Preventing Warping & Cracking
You want your exterior wall sheathing to stay strong for a long time. Warping and cracking can happen with magnesium oxide panels. These problems usually come from moisture getting inside the sheathing. Bad panels can soak up water, especially in places with lots of humidity. Water inside can make brine form in the panels. After a while, you might see drops of water on the surface. This is called “crying” or “sweating.” The drops can carry salts that hurt metal parts and cause mold on wood.
To stop these problems, you should:
Get the surface ready before you install the sheathing.
Let the panels sit for at least 48 hours to adjust.
Leave small spaces between panels. Use a 1/16 inch gap for steel frames and a 1/8 inch gap for wood frames.
Fill the spaces with caulk that does not shrink and use a polyethylene backer rod.
Use the right fasteners and do not make them too tight.
These steps help your exterior wall sheathing stay strong and protect your walls from harm. Good joint treatment and correct fastening also help with exterior wall insulation and insulation performance.
Ensuring Compatibility
You need to make sure your exterior wall sheathing works well with other materials. Clean and dry the wall before you start. Use carbide-tipped blades to cut the panels for smooth edges. Seal all edges with a good sealant to keep water out. Stagger the panels when you install them. This makes the sheathing stronger and helps with insulation.
Use corrosion-resistant fasteners to attach the sheathing to the frame. Always follow the manufacturer’s rules for spacing and fastener placement. You can use magnesium oxide sheathing with brick, stone, or siding. Make sure water can drain and dry out if you use brick or stone. Pick barriers that work with both the sheathing and the outside covering. This helps your exterior wall insulation work better and keeps your walls safe.
Maintenance Tips
Regular care keeps your exterior wall sheathing in good shape. Check the sheathing once or twice a year. Look for cracks, chips, or worn seams, especially after storms. Clean the panels with a damp cloth or mild soap. Do not use harsh cleaners. Make sure screws stay tight and put joint compound on any worn seams.
Keep the sheathing dry to stop cracks. Leave small spaces between panels to avoid pressure and damage. If you see damage, fix it right away. Put primer or waterproof sealant on every few years, especially in wet areas. Cover or coat the sheathing to protect it from the weather. These steps help your exterior wall insulation last longer and improve the insulation of your walls.
Tip: Good maintenance helps your exterior wall sheathing last for many years. You save money and protect your building.
By following these tips, you help your building stay strong and keep your exterior wall sheathing, exterior wall insulation, and walls safe.
You can make your exterior walls strong and safe from weather if you follow these steps:
Put magnesium boards on the wall first, then cover them with the right cladding or coating.
Seal every joint and edge so water cannot get in.
Let any moisture out so mold does not grow.
Pick fasteners that do not rust and keep the boards dry before you use them.
If you take care of your panels, they will last longer and you will not have to spend as much money fixing them.
Benefit | Description |
|---|---|
Durability | |
Lower Costs | You do not have to pay a lot for repairs. |
Always wear safety gear and check your tools before you begin.
FAQ
How long do magnesium oxide panels last on exterior walls?
You can expect magnesium oxide panels to last over 20 years. They resist fire, water, and mold. Regular maintenance helps them stay strong and look good.
Can you install magnesium oxide panels in wet climates?
Yes, you can use these panels in wet climates. They do not absorb water easily. Always seal all edges and joints to keep moisture out.
Do you need special tools to cut magnesium oxide panels?
You need a circular saw with a carbide-tipped blade for thick panels. For thin panels, you can use a utility knife. Always wear safety gear when cutting.
What finishes work best on magnesium oxide panels?
Use acrylic or latex paint for the best results. Apply a primer first. Two coats of paint protect the panels from weather and help them last longer.