04 Feb Step-by-Step Guide to MgO Board Wall Sheathing Installation
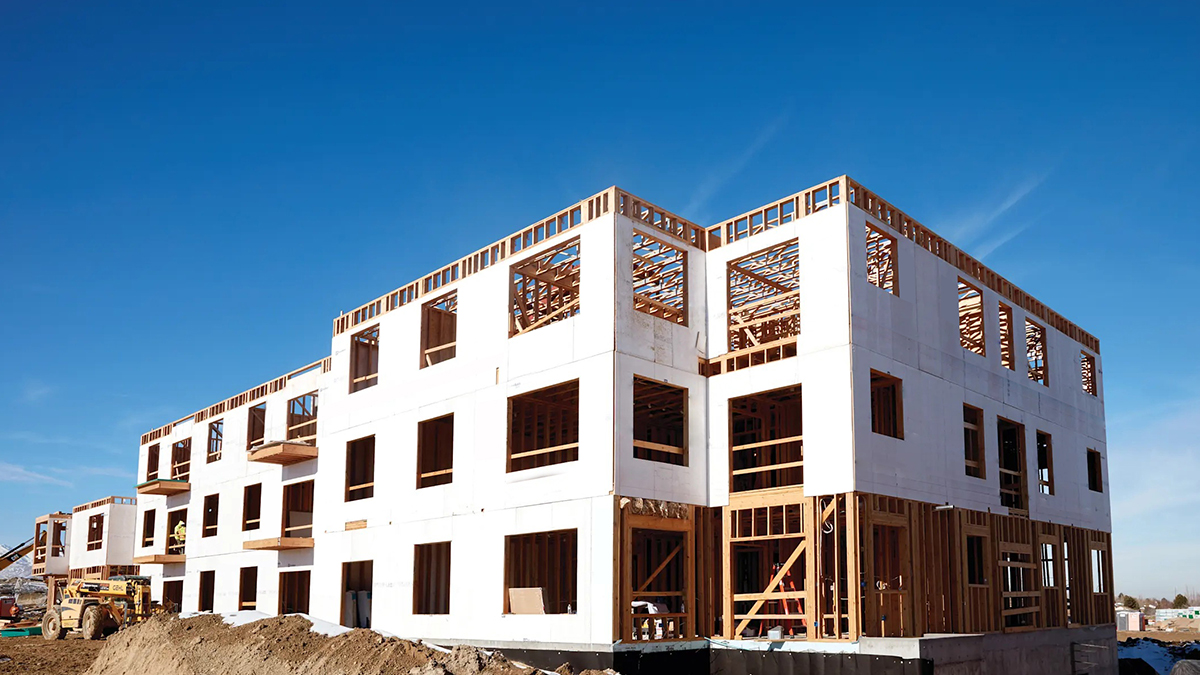
You can install MgO board wall sheathing by following clear steps that protect your walls and help them last. Using magnesium board gives your wall strength and resists fire and moisture. If you skip important steps, you might see water damage, cracks, or even gaps where water can get inside. You want to avoid problems like poor fastening, mold, or bending panels. MgO board installations for wall sheathing work well for both new builds and repairs. Both professionals and DIYers can get great results when they follow safe and careful methods.
Key Takeaways
MgO board is very good at stopping fire and water. This makes it a strong choice for wall sheathing.
Let MgO boards adjust to the room before using them. Handle them carefully to stop bending and make the wall strong.
Use the correct tools and fasteners to attach MgO boards. This helps you avoid mistakes that can make the wall weak.
Put fiberglass mesh tape and sealant on joints and seams. This keeps water out and stops mold from growing.
Follow safety rules and best steps when installing. This helps you get a neat and lasting result.
Magnesium Oxide Board Overview
MgO Board Properties
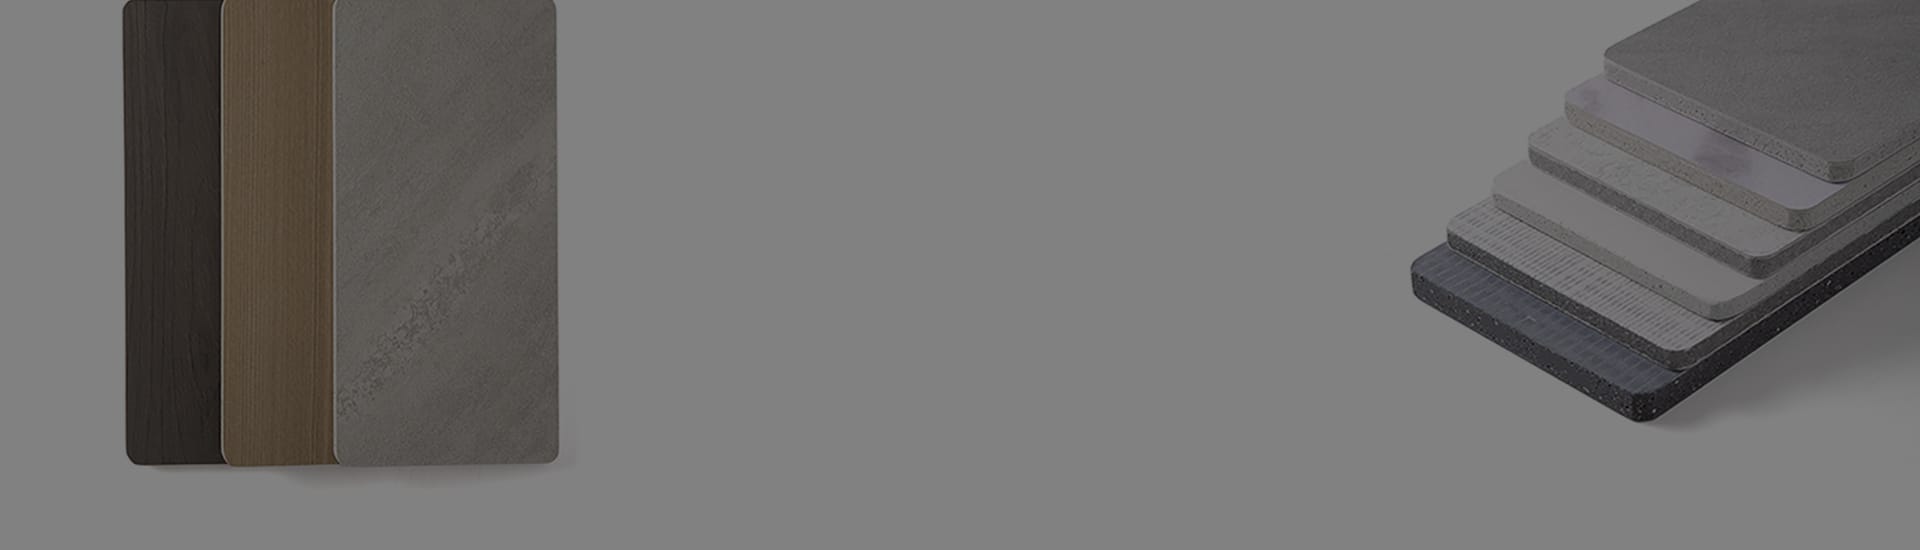
You want a wall sheathing material that stands up to fire, water, and time. Magnesium oxide board gives you these qualities. You can see how it compares to other materials in the table below:
Property | Description |
|---|---|
Fire Resistance | Magnesium oxide board has a stable crystal lattice that does not burn or break down under high heat. It does not release toxic smoke during a fire, enhancing safety. |
Moisture Resistance | The board’s non-porous surface and high alkalinity prevent water absorption, with only 0.34% surface moisture absorption compared to 3% for gypsum boards. |
Durability and Strength | The chemical structure of magnesium oxide provides long-lasting performance, with strong bonds that withstand high heat and humidity, as tested over 840 days. |
You can trust this board to keep your walls safe and strong. It does not burn easily. It does not soak up water. It stays tough even in hot or wet places.
Benefits for Wall Sheathing
You get many benefits when you use magnesium oxide board for wall sheathing. These benefits help your building last longer and stay safer.
You enjoy top fire safety. The board has an A1 non-combustible rating and can last up to 4 hours in a fire. This is much better than gypsum board, which lasts only 30-60 minutes.
You protect your walls from water damage. The board resists moisture, so you avoid warping, swelling, and mold. Its non-porous structure keeps water out and keeps your walls strong.
You save money on repairs. The board’s anti-mold properties and long life mean you do not need to fix or replace it often.
You improve energy efficiency. The board reduces heat loss and helps your building stay warm or cool. This makes your heating and cooling systems last longer.
You support healthy indoor air. The board does not release toxic smoke in a fire and resists mold, so you breathe easier.
You get a strong, stable wall. The board’s strength means your walls stay straight and solid, even in tough weather.
You help the environment. The board lasts a long time and needs fewer repairs, which means less waste.
Tip: Choose magnesium oxide board for wall sheathing if you want the best mix of safety, strength, and long-term benefits.
Tools & Materials for MgO Board Installation
 Essential Tools
 Essential Tools
You need the right tools to put up mgo sheathing board safely. These tools help you cut panels neatly and attach them well. They also help you finish the joints between boards. Good tools keep you safe from dust and sharp edges. Here are the main tools you should have for this job:
Safety glasses
Dust mask
Gloves
Putty knife
Saw horses
Square
Carbide tipped scoring knife or utility knife
Fiber cement shears
Dust reducing circular saw
Polyurea or modified epoxy seam filler
Underlayment
Fasteners
Adhesive
Using these tools helps you do a better job. The panels fit together well and your wall stays strong for a long time.
Required Materials
You need good materials to make a strong wall. The table below lists the main materials for mgo sheathing board and how to fasten them:
Material | Description | Fastening Requirements |
|---|---|---|
Non-toxic mgo sheathing board for wall sheathing | Use #8 flat head fasteners for wood studs; 18 gauge or heavier screws for metal studs | |
Fasteners | 316-stainless steel or ceramic coated types | Place fasteners at least 4” from corners; 6” apart on edges, 12” apart in the center |
You can put insulation behind the mgo sheathing board to save energy. This makes your building more comfortable and uses less power. Using strong materials also means you help the planet because you will not need to fix the wall as often.
Thickness Options for MgO Sheathing Board
Picking the right thickness for your mgo sheathing board is important. Thicker boards protect better from fire and damage. Thinner boards are good for light walls or mobile homes. The table below shows the usual thicknesses and where to use them:
Application Type | Structural Performance Impact | |
|---|---|---|
Ceilings | 12mm (1/2″), 3mm (1/8″), 6mm (1/4″) | Thicker boards give more strength; lighter ones for drop ceilings |
Walls | 12mm (1/2″), 15mm (19/32″), 20mm (3/4″), 6mm (1/4″), 9mm (11/32″) | Thicker boards improve fire and impact resistance; lighter boards for mobile homes |
Flooring | 20mm (3/4″) or thicker | Maximum support and rigidity for floors |
You get many benefits from using the right mgo sheathing board. The right thickness keeps your building warm and safe. Your wall will last longer and protect your space.
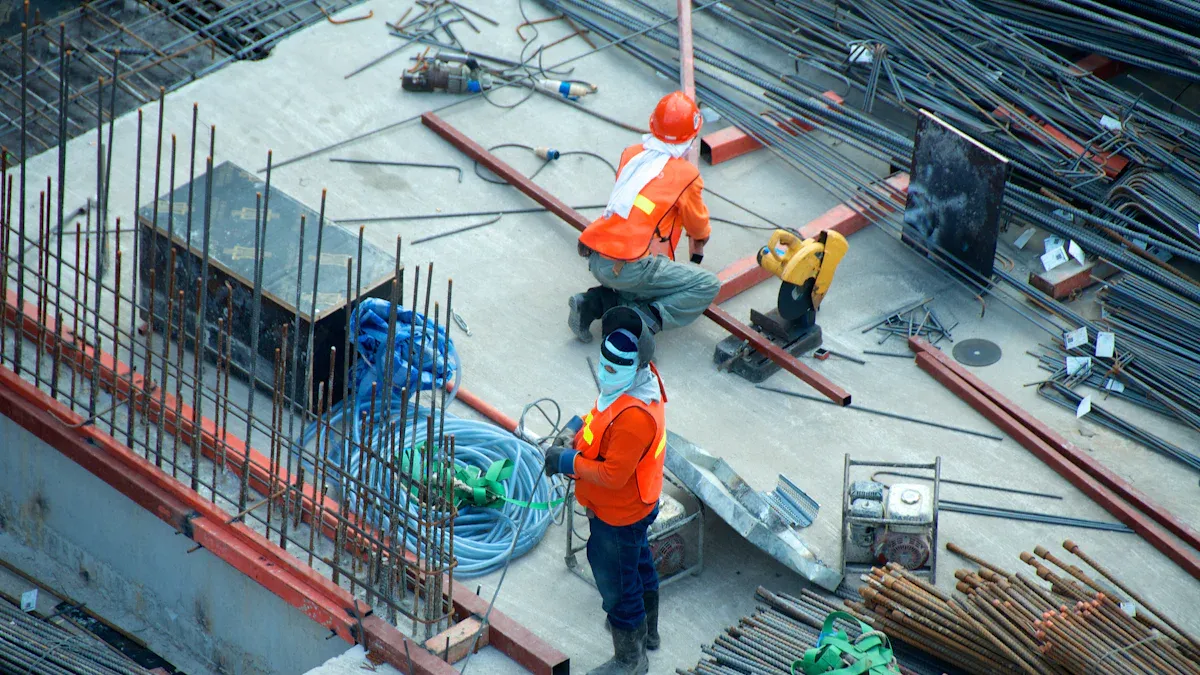
Safety & Site Preparation
Personal Protective Equipment
 Personal Protective Equipment
You need to protect yourself before you start working with magnesium oxide board. Safety gear helps you avoid injuries and mistakes. Always wear safety goggles to shield your eyes from dust and splinters. Gloves protect your hands from sharp edges and rough surfaces. A dust mask keeps you from breathing in fine particles. You should cut the board in a well-ventilated area to reduce dust inhalation. Support the board fully on a flat surface so it does not splinter or crack. Let your tools do the work; do not force the blade. This helps you avoid mistakes and keeps the board strong.
Tip: For ceiling or overhead work, use temporary supports until you secure the board with screws. This prevents accidents and keeps the board in place.
You must keep a safe distance from the board edges when fastening. Maintain at least 10–12mm from the edge to avoid splitting. In wet areas like bathrooms or kitchens, install a vapor barrier behind the board. Apply a water-resistant primer or coating before finishing. Seal all joints with a waterproof compound to boost resistance against moisture.
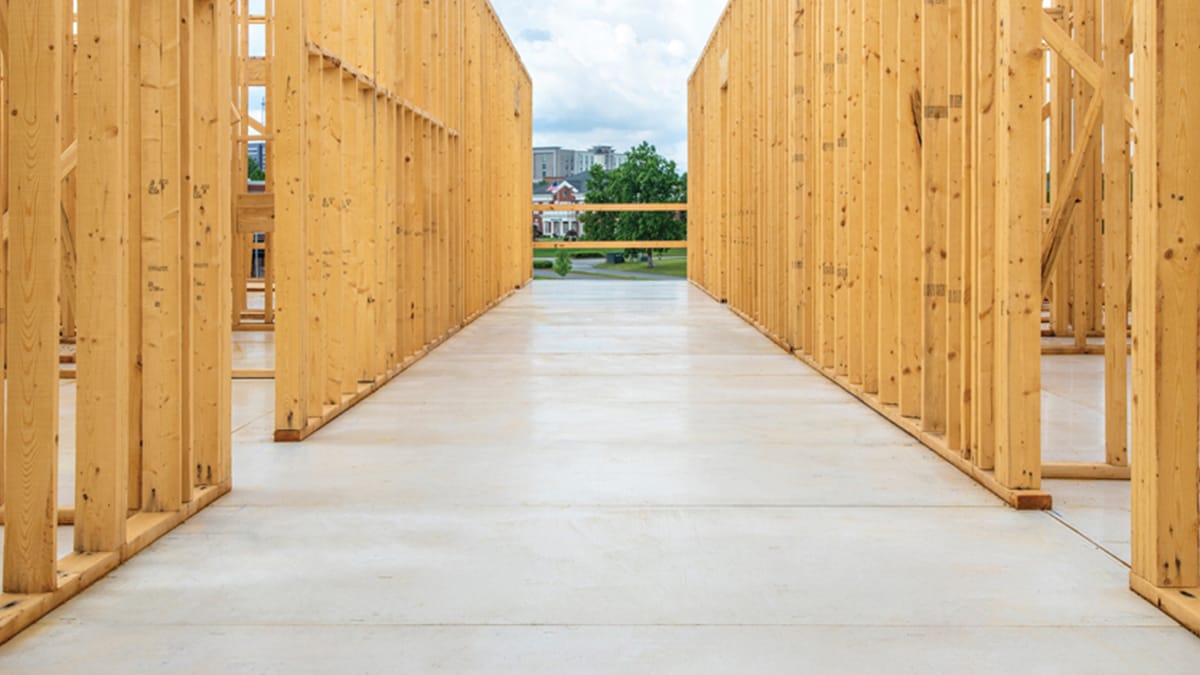
Preparing Framing and Substrate
You want a clean and sturdy base for your MgO board. Start by acclimating the boards. Lay them flat in the room for at least 48 hours. This step helps the board adjust to the room’s temperature and humidity, improving resistance to warping. Remove dust, dirt, and debris from the framing. Wipe surfaces with a damp cloth if needed. Inspect the substrate for cracks, holes, or weak spots. Repair any damage before you install the board. If you add insulation, make sure it fits snugly and does not block airflow.
Plan the placement of each board. Measure carefully and stagger the joints for extra strength and resistance to movement. Leave expansion gaps between panels and at the edges. These gaps allow the board to expand and contract with changes in temperature and humidity. You avoid mistakes like buckling or splitting by following these steps.
Note: Careful site preparation and safety steps help you avoid common mistakes and improve the resistance of your wall sheathing.
Acclimation & Handling MgO Boards
Acclimating MgO Sheathing Board
You need to let magnesium oxide boards adjust to the room before you install them. This step helps prevent warping and micro cracking, which can have a big impact on the strength and look of your wall. Place the boards in the same room where you plan to install them. Let them sit for at least two days, but three to five days gives the best results. This time allows the boards to match the room’s temperature and humidity. If you skip this step, you might see cracks or bends that impact the final finish.
Let the boards acclimate for three to five days for the best impact on durability.
Keep the boards flat and spaced out so air can move around them.
Make sure the room has normal airflow and stays dry.
Tip: Acclimation helps the boards settle and reduces the impact of sudden changes in moisture or heat.
Storage and Handling Tips
You want to keep your MgO boards safe before you start the installation. Good storage and careful handling have a direct impact on the quality of your project. Store the boards indoors in a cool, dry place. Stack them flat on wood or mats, not directly on the ground. This keeps moisture away and stops the boards from bending. Carry the boards on their side to protect the edges and corners. Never put heavy items on top of the boards, as this can impact their shape and strength.
Keep the boards away from damp air and direct sunlight.
Clean and prepare seams before sealing to improve the impact of your waterproofing.
Sand the edges before you add caulk or trim for better grip.
Use fiberglass mesh tape over joints to reinforce them.
Apply a waterproof layer over seams in wet areas.
Note: Careful storage and handling have a lasting impact on the performance and life of your wall sheathing.
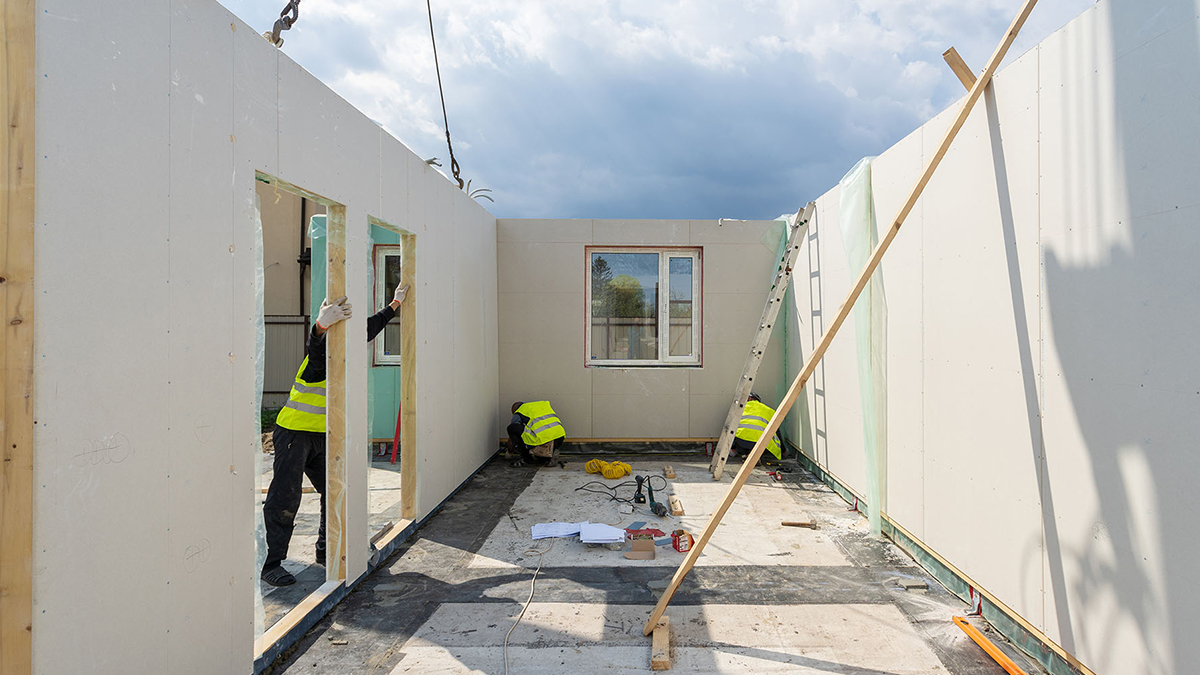
Practical Installation Steps for MgO Board Installations for Wall Sheathing
 You want your wall sheathing to last and look professional. You can achieve this by following practical installation steps that guide you through measuring, cutting, placing, and adjusting magnesium oxide boards. Each step helps you avoid mistakes and ensures a strong, even wall.
Measuring and Cutting MgO Board
You need to measure and cut each board with care. This process helps you fit the boards tightly and avoid waste. Follow these steps for the best results:
Measure and mark the area where you will install the board. Use a pencil to draw a clear line for cutting.
Place the board on a stable surface. Support large boards with sawhorses or a table to prevent sagging.
Choose your cutting tool. Use a utility knife for thin boards. Use a circular saw for thicker boards.
Cut along your marked line. Keep your hand steady and apply even pressure for a straight cut.
Smooth the edges with sandpaper or a file. This step removes sharp bits and helps the boards fit together.
Clean up dust and scraps. Wear a dust mask while cleaning to protect your lungs.
Tip: Double-check your measurements before you cut. This saves time and reduces material waste.
Horizontal Placement and Starting from Bottom
You should install MgO boards horizontally, beginning at the bottom of the wall. This method gives your wall more strength and makes the installation easier. Here is how you can do it:
Position the first board so the ends rest on the wall framing or joists. This support keeps the board stable.
Check that your framing is straight, square, and level. This step prevents stress on the boards and keeps the wall flat.
Leave a 1/8 inch gap between each board and at the edges. These gaps allow the boards to expand and contract with temperature changes.
Make sure the boards have acclimated to the room for at least 48 hours before you start.
Support all board ends with framing. Never let a board end hang in the air.
Start at one side of the wall and work across. This keeps your rows even and helps you line up the boards.
Note: Always work from the bottom up. This method helps you stack the boards neatly and keeps the wall strong.
Dry Fitting and Adjustments
You need to dry fit the boards before you fasten them. This step lets you check the fit and make small changes. Use the table below to guide your dry fitting process:
Step | Description |
|---|---|
1 | Place the boards on the wall to check their position. Make sure the spacing is even and the boards line up with the framing. |
2 | Install keels (support strips) as a framework. This gives the boards a stable base. |
3 | Do not fix the keels permanently at first. Adjust them as needed to match the board size and shape. |
You can move the boards and keels until everything fits well. This process helps you avoid gaps and uneven seams. When you are happy with the fit, you can move on to fastening the boards.
Tip: Take your time during dry fitting. Careful adjustments now will save you trouble later.
Fastening MgO Board Installation
Fastener Types and Spacing
You need to pick the right fasteners for a strong mgo board installation. The type of fastener depends on what you attach the board to. Use the table below to help you choose the best option for your installation:
Fastener Type | Description |
|---|---|
Fastening to wood studs | Use #8 flat head fasteners with high/low threads and a pointy drill point. |
Fastening to metal | Use 18 gauge or heavier, #8 flat head screw with nibs for countersinking and a self-drilling point. |
Fastener Installation | Place fasteners no closer than 4” from corners. Put perimeter fasteners 6” apart. Space center fasteners 12” apart. Keep fasteners about 9/16” from the board edge. |
You should always follow these spacing rules during installation. This helps prevent cracks and keeps the board secure. Good spacing also makes your wall stronger and helps your mgo board installation last longer.
Tip: Do not over-tighten fasteners. This can damage the board and weaken your installation.
Proper Fastening Techniques
You want your mgo board installation to stay strong for many years. Use these simple techniques to get the best results:
Use corrosion-resistant screws. Self-boring heads make installation easier. Drywall screws with a phosphoric coating also work well.
For wood framing, pick gun nails that are the right length. For light gauge steel framing, use screws made for metal.
Use a moisture-cured urethane adhesive like ChemLink M1 to bond the board to different materials.
Start fastening at the center of the board and work toward the edges. This helps spread pressure evenly.
Keep your drill or screwdriver at a right angle to the board. This stops the fastener from slipping or damaging the surface.
Check that each fastener sits flush with the board. Do not let screws stick out or sink too deep.
You can avoid board cracking or loosening by following these steps. Good fastening is a key part of every mgo board installation. Careful work during installation means your wall will stay safe and strong.
Note: Always check your fasteners as you go. Fix any mistakes right away to keep your installation solid.
Treating Joints & Seams
Applying Fiberglass Mesh Tape
 Applying Fiberglass Mesh Tape
You need to treat every joint and seam to keep your wall strong and safe from water. Fiberglass mesh tape helps you stop cracks and gives your wall a smooth finish. You can follow these steps to apply the tape and start the waterproofing process:
Place fiberglass mesh tape over the seams where two magnesium oxide boards meet. Make sure the tape covers the entire seam.
Spread joint compound over the tape. This step seals the seam and helps block water from getting inside.
Smooth the edges of the compound with a putty knife. You want the compound to blend with the board for better waterproofing.
Let the compound dry. Sand the area lightly to make the surface flat and ready for more waterproofing layers.
Tip: Always check that the tape sticks well and covers every seam. This step is important for stopping water from leaking through the wall.
Sealing and Finishing Joints
You must seal and finish every joint to complete your waterproofing system. Good sealing keeps water out and protects your wall for years. Use these steps for the best results:
Clean the surface and remove dust or old material. Water and dirt can stop the waterproofing from working.
Level any uneven spots. A flat base helps the waterproofing stick better.
Check that the studs are straight and spaced right. This step keeps water from pooling in weak spots.
Leave small gaps between boards for expansion. These gaps help stop water damage when the boards move.
Use corrosion-resistant fasteners. Do not over-tighten, or you might let water in.
Apply primer before finishing. Primer helps the waterproofing compound stick to the board.
Fill all gaps and cover screws with joint compound. This step blocks water from getting inside.
Sand the compound lightly for a smooth finish. A flat surface helps the waterproofing layer work better.
Seal all edges and joints with a quality sealant. This step is key for stopping water leaks.
Finish with paint, tile, or wallpaper. Pick a finish that adds another layer of waterproofing.
Note: You protect your wall from water and mold when you follow these steps. Good waterproofing keeps your building safe and dry.
Moisture Management & Weatherproofing
Flashing and Sealant Use
You have to keep your wall sheathing safe from water. Flashing and sealants are important for blocking moisture. When you put in magnesium oxide board, pick products that work well in hard weather. The table below lists some choices that help stop water and make your wall stronger:
Feature | Description |
|---|---|
Made with STPE technology, this flashing seals tricky spots and bonds even when surfaces are wet. | |
ZIP System Liquid Flash | This product gives fast waterproofing and sticks to many materials, making it easy to use. |
Flashing Tapes | These tapes work with integrated sheathing systems to keep air and water barriers strong. |
Put flashing around windows, doors, and any spot where water could get in. Sealant fills cracks and small holes, so water cannot reach inside your wall. Using both flashing and sealant together makes your wall better at stopping water. Always check that your flashing and sealant stick well to magnesium oxide board. This step helps you stop leaks and keeps your wall dry.
Tip: Pick flashing and sealant that fit your weather and building. This helps your wall stay dry and last longer.
Airtightness at Panel Seams
You want to block water and air from getting through panel seams. Airtight seams help your wall stay strong and keep out moisture. Follow these steps for the best results:
Check seams and gaps to find places where water or air can get in.
Leave a 1/8-inch gap between panels so they can move without letting water in.
Watch edges and corners because water often collects there.
Put a line of sealant around the outside framing before you put up panels.
Tape the seams to keep out water and air.
Seal both sides of the floor if you can.
Seal gaps between sistered joists to stop hidden water paths.
Use both sealant and tape for the best water protection.
Check all joints and gaps while you work to catch water problems early.
You make a strong shield against water when you do these steps. Airtight seams help your magnesium oxide board last longer and keep your building safe.
Note: Careful sealing and taping at seams protect your wall from water damage and help keep moisture out.
Common Mistakes & Pro Tips
Errors to Avoid in MgO Board Installation
 Errors to Avoid in MgO Board Installation
You want your wall sheathing to last and protect your building. Many people make the same errors during the installation process. You can learn from these common mistakes to avoid problems later. The table below shows what to watch out for:
Mistake Type | Description |
|---|---|
Fastening Errors | Using the wrong size fasteners makes boards loose and weakens fire resistance. Missing the framing means boards will not stay in place. Driving nails too deep cracks the board and lowers fire safety. Using too many or too few fasteners creates weak spots. |
Sealing Issues | Skipping sealant lets water in, which causes mold and weakens fire resistance. Water can make boards swell and rust metal fasteners. Mold grows when water stays trapped, making the wall unsafe. |
Ignoring Manufacturer Instructions | Not following the installation instructions can lower fire resistance and cause you to fail inspections. |
You can avoid these issues by reading the installation instructions and checking your work at each step. Always use the right fasteners and seal every seam. These steps help you avoid the most common mistakes to avoid during the installation process.
Note: Careful work now saves you time and money later.
Best Practices for Flawless Results
You can get a strong and safe wall by following a few pro tips. These steps make the installation process smoother and help you avoid the most common mistakes to avoid:
Keep all your tools and materials in one place before you start. This keeps you organized and helps you work faster.
Use a moisture meter to check for dryness in wet areas. This stops mold and keeps boards from warping.
Double-check your measurements before you cut. Accurate cuts make the boards fit better.
Start at the bottom and work up. This makes it easier to line up the boards and keeps them from shifting.
Leave a 1/8-inch gap between boards on wood frames and a 1/16-inch gap on steel frames. These gaps help the boards last longer.
Seal all edges with waterproof sealant in humid rooms. This keeps water out and protects your wall.
Tip: Following these best practices gives you a wall that looks good and lasts for years.
You can make your wall last a long time with magnesium oxide sheathing if you follow simple steps. First, cut the boards carefully. Pick the right fasteners for the job. Treat every joint so water cannot get in. Always wear safety gear to protect yourself. Manage moisture to keep the wall strong. These steps help the wall resist fire and damage from bumps. Your wall will stay strong for many years. Magnesium oxide sheathing is good for the planet and needs less fixing. If you want the strongest wall, read expert guides or ask a pro for advice. You will get a wall that protects your building for a long time.
FAQ
How do you cut MgO board safely?
You should use a carbide-tipped scoring knife for thin boards. For thick boards, use a circular saw with a dust-reducing blade. Always wear safety glasses, gloves, and a dust mask. Cut in a well-ventilated area to avoid breathing dust.
Can you install MgO board outdoors?
Yes, you can use MgO board outdoors. You must seal all joints and edges with waterproof sealant. Use corrosion-resistant fasteners. Protect the board from direct water exposure with proper flashing and weather barriers.
What fasteners work best with MgO board?
You should use #8 flat head screws for wood studs. For metal studs, pick 18-gauge or heavier self-drilling screws. Always use corrosion-resistant fasteners to prevent rust and keep your wall strong.
Do you need to prime MgO board before painting?
Yes, you should apply a primer before painting. Primer helps paint stick better and protects the board from moisture. Choose a primer made for cement-based boards for the best results.