28 Jan A Complete Beginner’s Guide to Magnesium Wall Board
You can trust magnesium wall board to stop fire and last long. MgO panels are made from magnesium oxide. They do not burn at all. They can handle fire for up to four hours. You get more than fire safety with these boards. They also resist water and mold. This helps protect your home during building and after. MgO is stronger against impacts than drywall. Many people pick MgO because it stops fire and helps the environment. People who do projects themselves find MgO easy to put in. You see more MgO used in homes and businesses now.
Key Takeaways
Magnesium wall board (MgO) does not burn for four hours. This makes it a safe choice for homes and buildings. It has excellent fire resistance.
MgO board does not get damaged by water or mold. It works well in wet places like bathrooms and kitchens. Traditional drywall may not work in these areas.
Installing MgO board is easy. You only need basic tools and safety gear. This makes it good for DIY projects.
MgO board lasts a long time. It does not get moldy or break easily. This helps save money on repairs and replacements.
MgO board is good for the environment. It is made from natural materials. It does not release harmful gases. This helps keep indoor air clean.
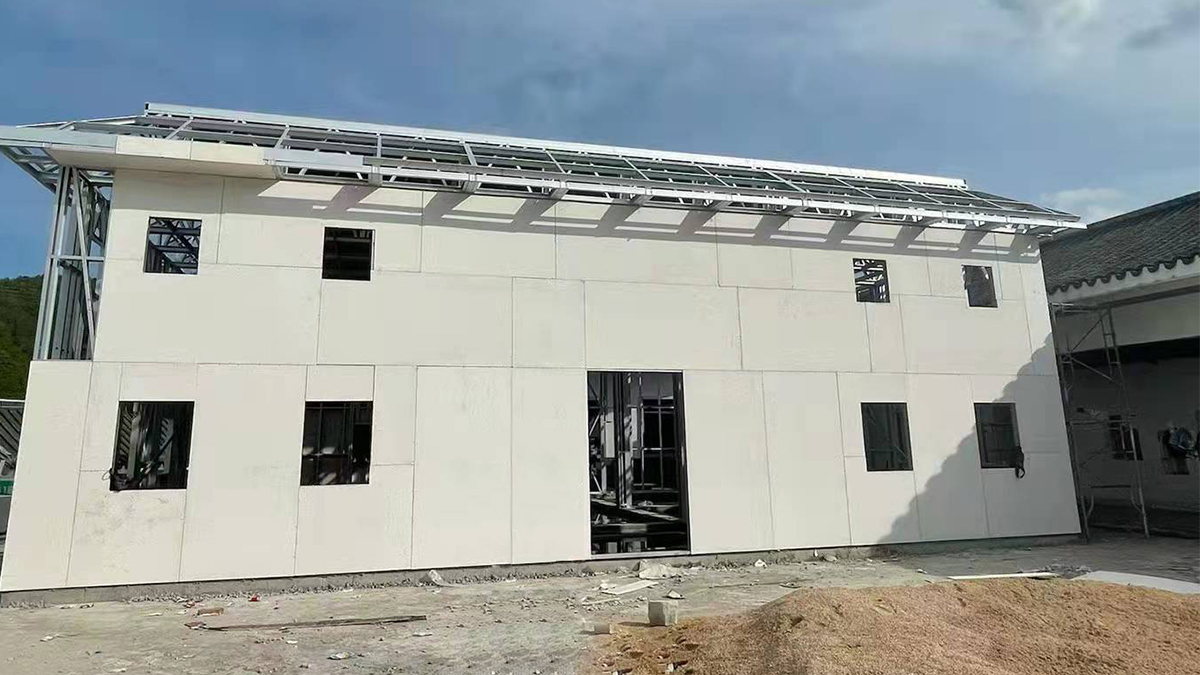
What Is Magnesium Wall Board?
MgO Board Composition
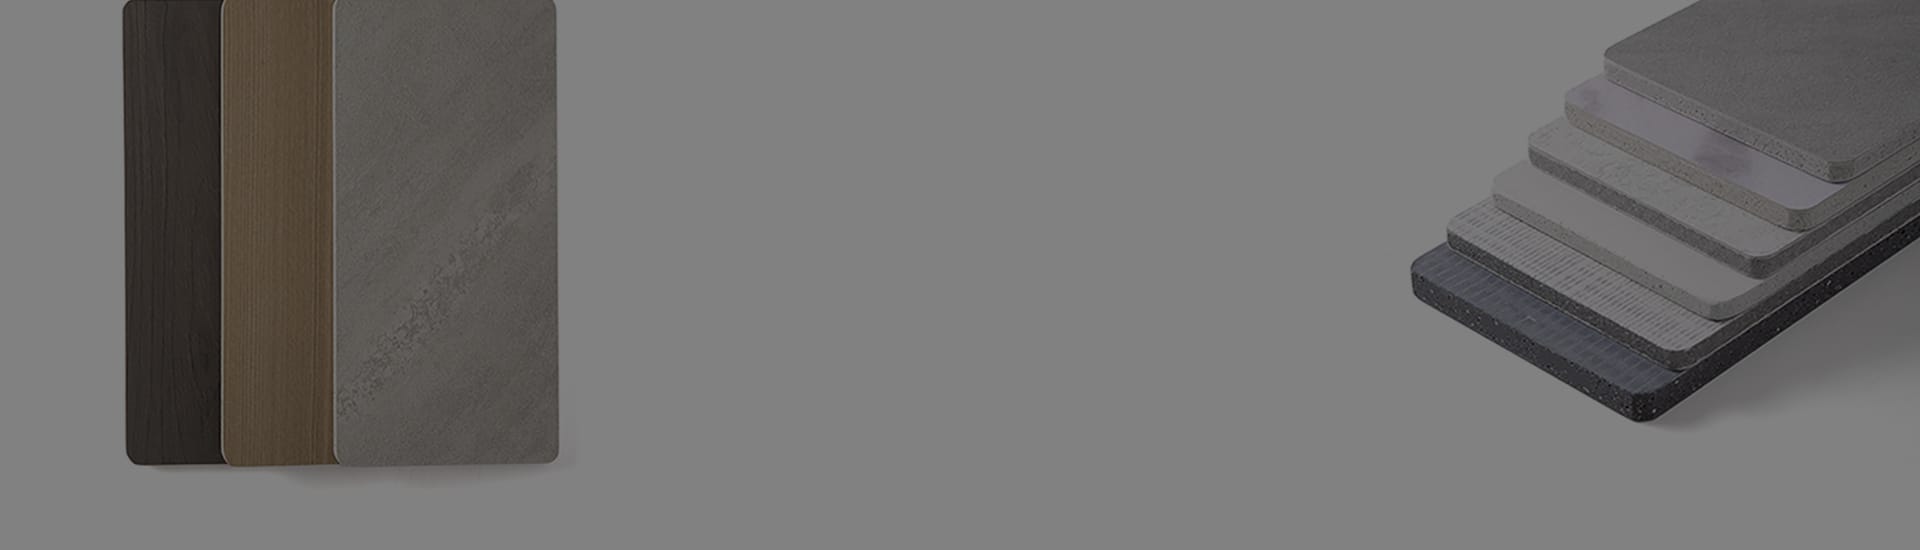
You may wonder why mgo board is special. Makers mix strong and safe materials to make it. Magnesium oxide is the main part. It gives the board its name. Other parts include magnesium chloride, fiberglass mesh, or wood fibers. There are also light fillers like perlite or vermiculite. Some other minerals are added too. All these parts help the board stay tough.
Here is a table that shows what is inside mgo board:
Component | Proportion by Weight (%) |
|---|---|
Magnesium Oxide (MgO) | 40-50 |
Magnesium Chloride (MgCl₂) | Reactive agent |
Fiberglass Mesh/Wood Fibers | 5-10 |
Lightweight Fillers (Perlite/Vermiculite) | 5-20 |
Inorganic Minerals | 90-95 |
The board is light but also strong. Fiberglass mesh or wood fibers stop cracks from forming. Fillers make the board easier to carry and put on walls.
You can look at the physical properties of mgo board too:
Property | Value |
|---|---|
Density | About 1 g/cm³ |
Weight | 1.5 to 2.2 pounds per square foot for 12mm thickness |
Strength | Stronger than gypsum boards |
Thermal Resistance | High fire resistance, withstands temperatures up to 1200°F |
Key Features and Benefits
Mgo board gives you many good things for your walls. The best thing is fire resistance. Mgo board does not burn, even in high heat. It helps keep your home or building safe. Mgo board passes hard fire tests like ASTM E84 and ASTM E119. These tests show mgo board slows fire and makes little smoke. In Europe, mgo board gets the A1 non-combustible rating. This means it will not catch fire.
Mgo board must pass hard tests before being used as fire-rated exterior sheathing, like ASTM E84, ASTM E119, and EN 13501-1+A1:2010.
ASTM E84 checks how fast fire spreads and how much smoke comes out. Most mgo boards get a Class A rating, which means very little fire and smoke.
The A1 non-combustible rating in Europe proves mgo boards do not burn, giving great fire safety.
Mgo board also resists water. It does not swell or break when wet. This makes it good for bathrooms, kitchens, and basements. You can use mgo board where drywall would not work.
Mgo board is strong against bumps. If you hit the wall, the board will not crack easily. This strength comes from the fiberglass mesh or wood fibers inside.
Using mgo board helps the earth. It uses natural magnesium sulfate, which is safe for nature. Making mgo board uses less energy than other boards. It even helps remove carbon dioxide from the air while curing. Mgo board does not let out harmful gases, so indoor air stays clean.
Here are some green features of mgo board:
Made from natural magnesium sulfate, which is safe for the earth.
Makes almost no toxic gas, so indoor air is safer.
Uses less energy to make, which lowers pollution and helps the planet.
Takes in CO₂ during curing, which cuts greenhouse gases.
You can check for certifications too. Many mgo boards meet EN ISO 1716 and EN 13501 rules. These show the board is safe and fire-resistant.
Certification | Description |
|---|---|
EN ISO 1716 | Shows the board meets fire safety rules. |
EN 13501 | Proves the board is fire-resistant. |
Tip: You can use mgo board for magnesium oxide sheathing on outside walls, ceilings, and floors. This gives you more ways to build safe and strong places.
You see mgo board in homes, schools, hospitals, and offices. It keeps walls safe from fire, water, and bumps. You also help the earth by picking a board that supports green living.
Why Use Magnesium Wall Board?
 Advantages Over Drywall
 Advantages Over Drywall
You want your walls to last and keep you safe. Magnesium wall board gives you more protection than regular drywall. When you use mgo board, you get strong fire resistance and better strength and durability. Mgo board does not burn or make dangerous smoke. It can stop fire for up to four hours, giving you more time to get out safely. Drywall lasts less than two hours in fire and can break down fast.
Here is a table that shows the main differences:
Advantage | Magnesium Wall Board | Drywall |
|---|---|---|
Fire Resistance | Very good at stopping fire, does not burn | Lasts less than 2 hours in fire |
Water Resistance | Stays strong, does not swell or fall apart | Can be damaged by water |
Mold Resistance | Stops mold, mildew, and bugs | More susceptible to mold |
Durability | Lasts longer, breaks less often | Less durable |
You also save money over time. Mgo board costs more at first, but you do not need to fix or replace it as often. It does not support mold, so you avoid mold clean-up costs. Its fire resistance can even lower your insurance bills. You get more value from mgo sheathing board in the long run.
Tip: Mgo board is a smart choice for wet areas, like bathrooms and kitchens, because it does not swell or rot.
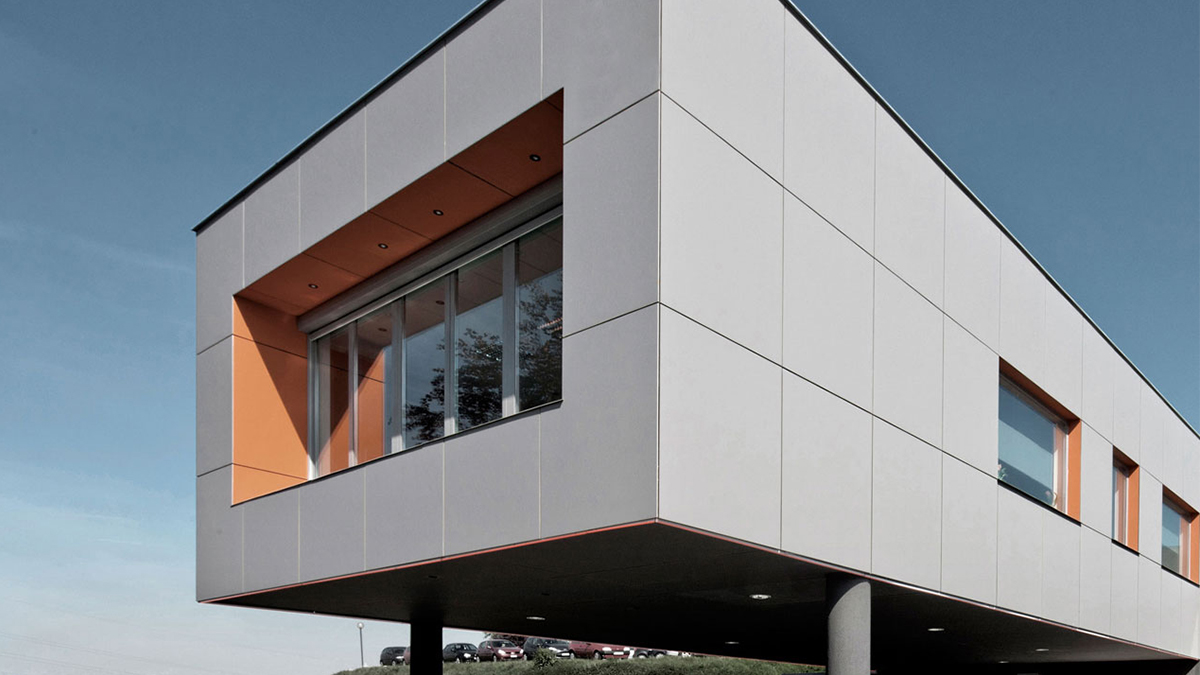
Applications for MgO Sheathing Board
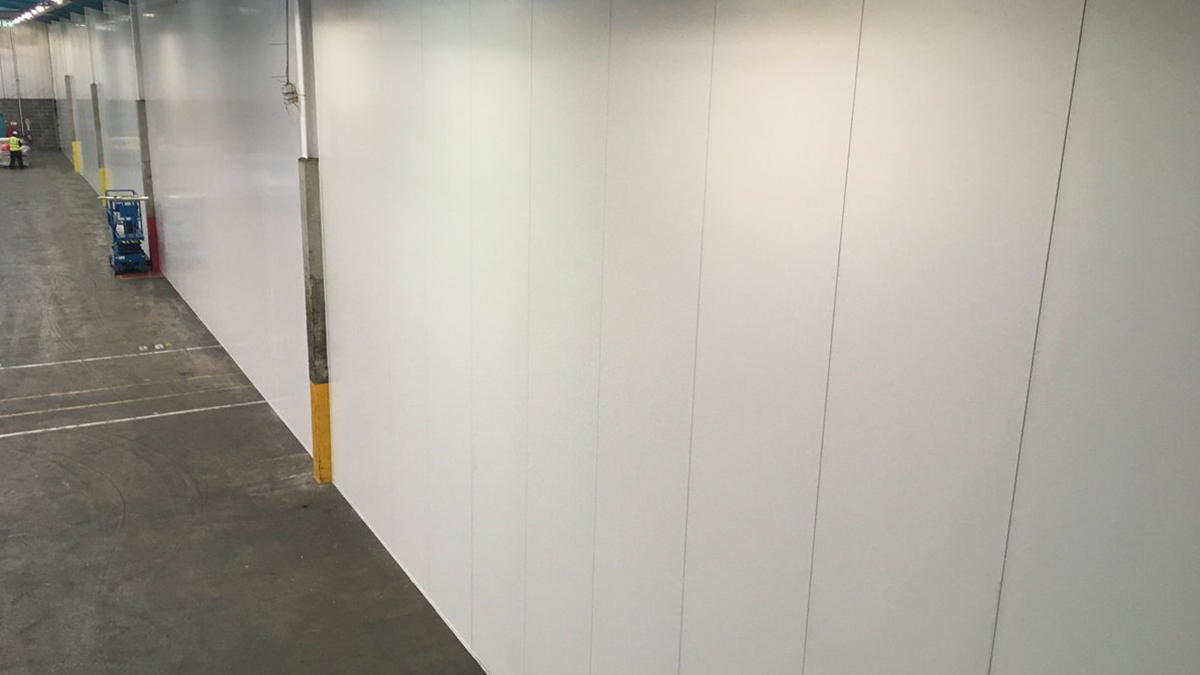
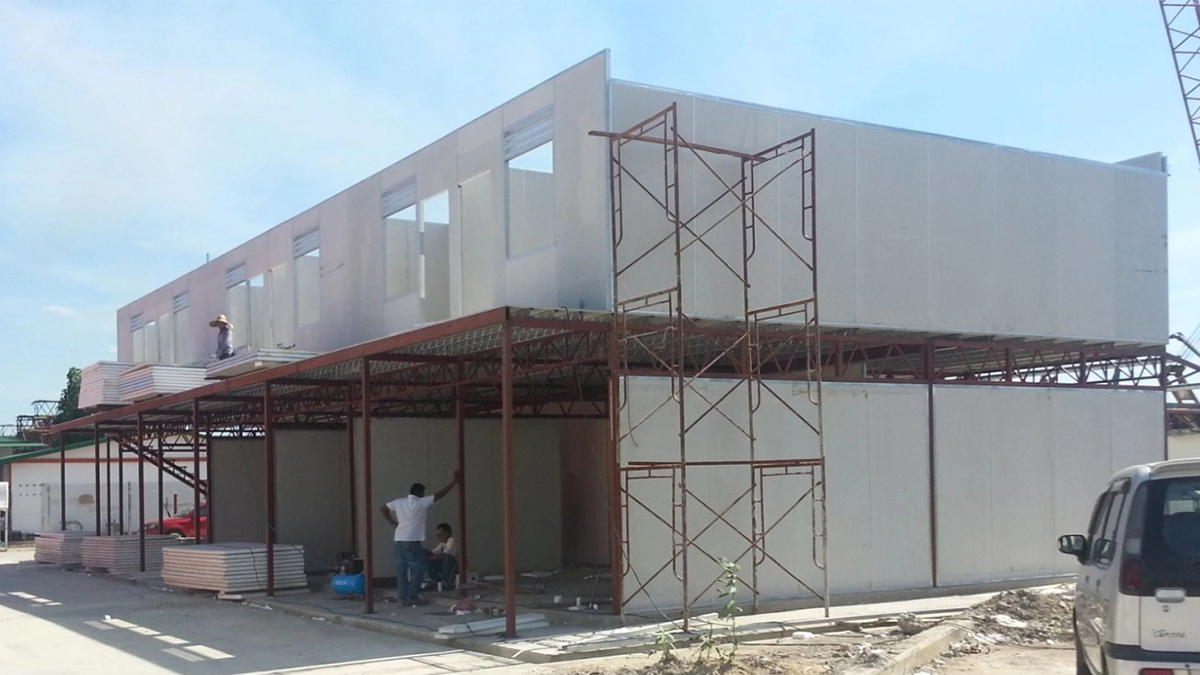
You can use mgo sheathing board in many parts of your home or building. Builders trust mgo board for both inside and outside walls. You see it in schools, offices, and homes. It works well as wall sheathing, subflooring, and underlayment for floors. You can use it for ceilings and as a tile backer in bathrooms and kitchens. Mgo board also makes a strong roof deck and protects exterior walls from fire and weather.
Here are some common uses:
Wall sheathing for homes, schools, and offices
Subflooring and underlayment for floors
Ceilings and tile backer boards in bathrooms and kitchens
Roof decking and exterior sheathing for extra fire and weather protection
Building codes require fire safety in construction. Mgo sheathing board meets strict fire performance rules, like ASTM E119 and NFPA 285. These tests prove the fire resistance of mgo board. The ICC-ES ESL-1290 gives more rules for using mgo panels in construction. You can trust mgo board to meet the highest standards for fire safety and strength and durability.
You get many advantages of mgo sheathing when you use it in your projects. Mgo board gives you fire safety, strength and durability, and protection from water and mold. You make your walls safer and stronger with mgo sheathing board.
Tools and Safety for MgO Board Installation
Essential Tools
 Essential Tools
You need special tools to put in mgo board. These tools help you cut and attach the board. A carbide-tipped scoring knife makes clean cuts. A dust-reducing circular saw keeps your area neat. Fiber cement shears cut the board without breaking it. Corrosion-resistant screws hold the board tight. Adhesive helps stick the board to walls. Polyurea or modified epoxy seam filler fills spaces between boards. Underlayment gives a strong base for the board.
Carbide-tipped scoring knife
Dust-reducing circular saw
Fiber cement shears
Corrosion-resistant screws
Adhesive
Polyurea or modified epoxy seam filler
Underlayment
Tip: The right tools and materials make installing mgo board easier and safer.
Safety Gear
Safety is important when you work with mgo board. Wear safety glasses to keep dust out of your eyes. A dust mask stops you from breathing tiny bits. Gloves protect your hands from sharp edges. Saw horses hold the board steady while you cut. Always follow safety rules when building.
Wear safety glasses and a dust mask when cutting or sanding. |
Do not dry sweep; use wet cleaning or a HEPA vacuum. |
Carry boards on their side to protect the edges. |
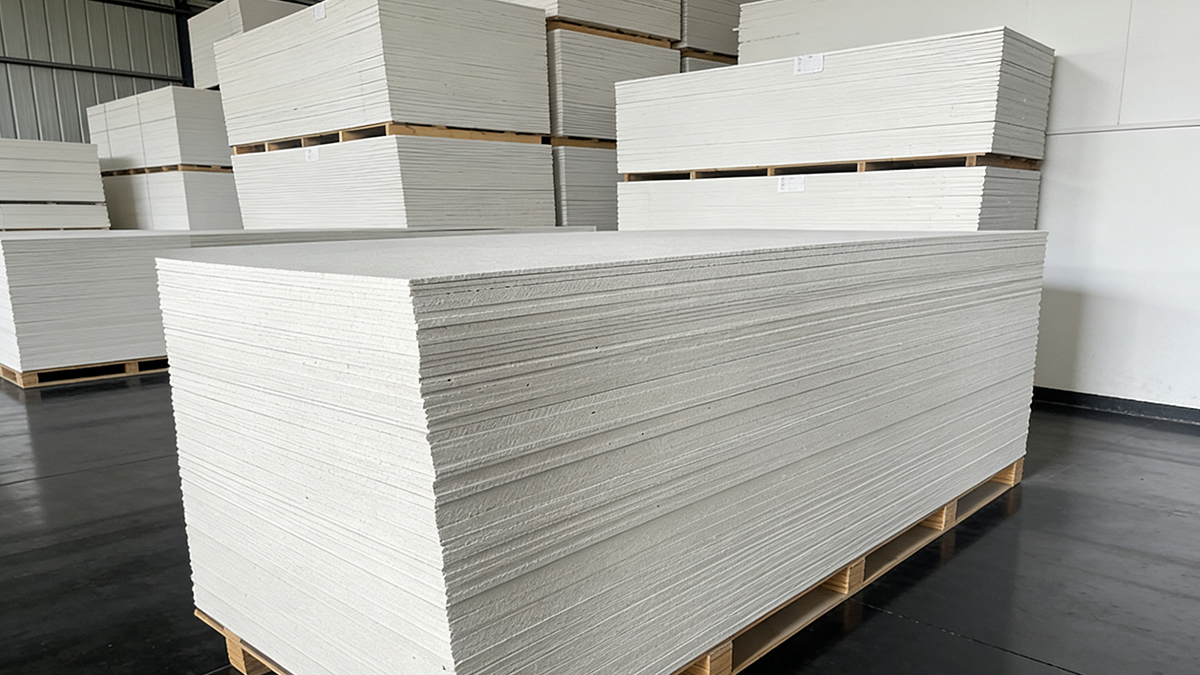
Stack boards flat on dunnage, not on the ground. |
Do not let boards bend or put things on top. |
If using galvanized steel framing, add a barrier between the board and steel. |
Always follow building codes for your area. |
Note: Good safety habits help you stay safe and keep your work area clean.
Materials Checklist
Check your tools and materials before you start installing mgo board. This checklist helps you stay ready and finish faster. You need tools for cutting, attaching, and finishing the board. You also need materials that help your walls stay strong and safe.
Tools and Materials Needed | What They’re Used For |
|---|---|
Carbide Tipped Scoring Knife | Cutting mgo boards |
Dust Reducing Circular Saw | Keeps dust low while cutting |
Fiber Cement Shears | Makes neat cuts |
Corrosion-Resistant Screws | Holds boards in place |
Adhesive | Sticks boards to surfaces |
Polyurea or Modified Epoxy Seam Filler | Fills gaps for smooth joints |
Underlayment | Gives a strong base |
Use this checklist to make sure you have everything you need. With the right tools and safety gear, you can install mgo board easily. You protect your walls from fire, water, and bumps. Your space will be stronger and safer.
Preparing for Installing MgO Board
Site Preparation
 Site Preparation
You need to prepare your work area before you install mgo board. A clean and safe space helps you get the best results. Start by removing all dirt, dust, oil, and leftover cement from the floor and walls. Make sure the area is dry and has no standing water. Complete any major pipeline work first. Wait until the exterior wall construction is finished.
Keep the temperature between 41°F and 95°F for the best outcome. Level any uneven surfaces so the mgo sheathing board sits flat. Check all materials before you begin. Make sure each mgo board is dry, flat, and undamaged. Inspect steel keels for rust or bends.
Follow these steps for site preparation:
Clean the area and remove all debris.
Finish pipeline work and exterior wall construction.
Keep the temperature between 41°F and 95°F.
Level uneven surfaces.
Check that mgo boards are dry and flat.
Inspect steel keels for damage.
Mark wall positions on the floor and ceiling, including doors and windows.
Secure top and bottom keels with fasteners no more than 24 inches apart.
Space framing at 16-inch centers and use a plumb line for straight keels.
Reinforce framing around openings and adjust as needed.
Use a tape measure for measuring and planning for proper placement.
Leave a 1/8 inch gap between boards for expansion.
Tip: Careful measuring and planning for proper placement helps you avoid mistakes and makes your installation smoother.
Inspecting Magnesium Oxide Sheathing Board
You must inspect each magnesium oxide sheathing board before you install it. Look for clear certification labels and a detailed technical data sheet. Trusted third-party reports show that the mgo board meets safety and fire standards. Proper packaging and labeling protect the board during transport.
Inspection Criteria | Importance |
|---|---|
Clear certification labels | Indicates safety of the board |
Detailed technical data sheet | Confirms testing and quality |
Trusted third-party reports | Ensures fair testing results |
Proper packaging and labeling | Protects the board during transport |
Check each magnesium oxide sheathing board for size, strength, and durability. Fire safety test reports are important. Trusted lab reports give you confidence in the product. Make sure the mgo board is not cracked or warped. You want your mgo sheathing board to last and protect your walls from fire, water, and impact.
Review fire safety test reports.
Look for trusted lab reports.
Check for cracks or warping.
Note: Careful inspection of every magnesium oxide sheathing board helps you build strong, safe walls that last.
MgO Board Installation Steps
Cutting Magnesium Wall Board
You start mgo board installation by cutting mgo boards to fit your space. Cutting mgo boards the right way helps you get clean edges and keeps dust low. You can use a circular saw with a thin carbide blade for power cutting. For small jobs, wet cutting works well. Spray water on the board before and during cutting. This traps dust and makes the air safer. Always work in a well-ventilated area. Use a dust collection system if you have one. These systems can catch up to 94% of airborne dust.
You can also score and snap mgo board for smaller cuts. Use a utility knife to score deeply along your line. Snap the board over a firm edge. Support the board on a stable surface while cutting. Hold the magnesium oxide sheathing board upright to prevent bending or breaking. Wear safety glasses and a respirator to protect yourself.
After cutting mgo boards, sand the edges lightly for a smooth finish. If you cut corners, apply construction adhesive to reinforce them. This step helps your mgo board installation look neat and last longer.
Best Practices for Cutting MgO Boards:
Wet cutting keeps dust down for small jobs.
Use a circular saw with a thin carbide blade for clean cuts.
Score and snap for smaller pieces.
Support the board firmly while cutting.
Wear safety glasses and a respirator.
Use a dust collection system to trap dust.
Sand cut edges for a smooth finish.
Apply adhesive to corners after cutting.
Tip: Wet cutting and dust collection systems help you breathe easier and keep your workspace clean during mgo board installation.
Positioning and Fastening
Positioning the boards correctly is important for a strong mgo board installation. Lay the magnesium oxide sheathing board flat against the framing. Make sure the surface is clean and level before laying the mgo boards. Leave a gap of 1/8 inch between each board for expansion. This gap helps prevent cracks when the boards expand or contract.
Fastening the boards securely keeps your walls safe and strong. Use corrosion-resistant screws for wood studs. Use self-tapping screws for metal studs. Start fastening at the center of the board and move outward. This spreads tension evenly and stops warping. Do not install fasteners closer than 4 inches from corners. Keep screws 10 to 15 mm from the board edge and 15 to 20 mm from cut edges.
Follow these installation instructions for screw spacing:
Installation Aspect | Specification |
|---|---|
Screw embedding depth | 0.5 to 1 mm into board surface |
Distance from board edge | 10 to 15 mm |
Distance from cut edge | 15 to 20 mm |
Screw spacing along board edge | 200 mm (about 8 inches) |
Screw spacing in board center | 300 mm (about 12 inches) |
Use #8 flat head fasteners with high/low threads for wood studs. For metal studs, use #8 flat head screws with nibs under the head for countersinking. Fill all seams with fire-rated sealant. This step adds extra fire protection to your mgo board installation.
Note: Always check that the magnesium oxide sheathing board sits flat and that you follow the recommended screw spacing for a secure installation.
Tips for Clean Installation
You want your mgo board installation to look smooth and last long. Professional installers share tips to help you get the best results. Keep the temperature and humidity steady before, during, and after installation. This helps the magnesium oxide sheathing board stay flat and prevents warping.
Leave a gap of 1/6 to 1/8 inch between sheets for expansion. Fill gaps with Manus-Bond 75-AM and make sure it is flush with the panel surface. Use a sandable joint compound for finishing. Embed 6-inch wide fiberglass tape in RapidSet Wunderfixx and feather it out. Lightly sand while the Wunderfixx is still damp for a smoother finish. Apply a final coat of high-quality finishing compound and feather it out for a seamless look.
Common mistakes can make mgo board installation harder. Always hold magnesium oxide sheathing board upright to prevent bending. Make sure the surface is clean and level before laying the mgo boards. Use fire-rated sealants for seams, even though mgo board has an A1 fire rating.
Tips for Clean MgO Board Installation:
Keep temperature and humidity steady.
Leave expansion gaps between sheets.
Fill gaps completely and flush with the surface.
Use fiberglass tape and feather out joint compound.
Sand while the compound is damp for a smooth finish.
Apply a final coat and feather it out.
Hold boards upright to prevent damage.
Prepare surfaces before laying the mgo boards.
Use fire-rated sealants for seams.
Tip: Careful planning and following these steps help you achieve a professional finish with your mgo board installation.
You now know the steps for installing mgo board. You can cut, position, and fasten the boards securely. Follow these tips for clean installation and your walls will be strong, safe, and smooth.
Finishing Magnesium Wall Board
Joint Treatment
 Joint Treatment
You need to focus on treating joints and seams to get a smooth finish on your mgo board walls. Start by checking that all boards line up with small gaps between them. This step helps prevent cracks if the boards move. Use wide fiberglass tape or alkali-resistant mesh tape over each joint. These tapes work well with mgo and help keep the seams strong. Next, apply a joint compound made for mgo board. Spread it evenly over the tape and seams. Some people also use non-shrinking caulk for extra protection. Let the compound dry before you sand it. Sand the area gently to make it flat and ready for the next step. Treating joints and seams the right way gives your wall a clean look and helps stop fire from spreading through gaps.
Tip: Acclimate your mgo board before installation. This step helps the boards adjust to the room and reduces movement later.
Priming and Painting
You want your walls to look great and last long. After treating joints and seams, you need to prime the mgo board. Pick an acrylic-based primer that works with mgo. Use a roller or brush to cover the surface. For the best results, apply more than one layer of primer and let each coat dry before adding the next. This process creates a smooth base for paint. When you paint, choose a high-quality paint made for mgo board. Use a brush or roller to spread the paint evenly. You may need several coats for full coverage. Let each coat dry before you add another. These finishing touches for mgo board installation help protect your walls and keep them looking fresh.
Use acrylic-based primer for mgo board.
Apply primer and paint in thin, even layers.
Let each coat dry before adding the next.
Final Inspection
You should always check your work before you finish. Look at every seam and corner. Make sure the joint treatment is smooth and there are no bumps. Check that the primer and paint cover the mgo board completely. Touch up any spots that need more paint. Inspect for gaps or cracks. If you find any, fill them with joint compound or caulk. These finishing touches for mgo board installation help your walls stay strong and safe. A careful final inspection means your mgo board project will last for years.
Note: A good inspection helps you catch small problems before they become big ones.
Caring for Magnesium Wall Board
Cleaning and Maintenance
 Cleaning and Maintenance
You want your mgo board to last and look good. Regular cleaning and proper care help you keep your mgo walls strong. Here are some tips for cleaning and maintaining your mgo board:
Protect all cut edges to keep the fire resistance high.
Avoid using water directly on the mgo board. Too much water can break down the material.
Seal all joints with fireproof materials.
Use the right joint compounds and tapes to keep the structure solid.
Fill seams with flexible fillers. Use gypsum-based fillers in dry rooms and polymer-cement fillers in humid places.
Sand, prime, and paint the joints after finishing. This adds extra protection.
Tip: Always check your mgo board for cracks or gaps during cleaning. Early repairs stop bigger problems.
Repairing Damage
If you see small holes or cracks in your mgo wall, you can fix them easily. Follow these steps to repair minor damage:
Fill small gaps with non-shrinking caulk. This keeps out water and air.
Place self-adhesive fiberglass tape over seams. This tape helps prevent new cracks.
Spread joint compound over the tape with a joint knife. Make the surface smooth.
Let the compound dry. Sand it with 240 grit sandpaper for a flat finish.
Prime the mgo board with a good primer. This helps the paint stick and keeps out moisture.
Paint with high-quality acrylic or latex paint. Use thin layers for the best results.
Seal the painted surface with a clear sealer. This protects against dirt and moisture.
Note: Quick repairs keep your mgo board strong and looking new.
Longevity Tips
You want your mgo board to last for many years. Climate plays a big role in how long your mgo walls stay strong. High humidity can make the mgo board absorb water, which may cause swelling or damage. Big changes in temperature can make the mgo board expand and contract. This can lead to cracks or gaps.
Research shows that mgo board can stay stable for at least 33 years in average climates. The special mix inside the mgo board helps it resist damage, even after long exposure to moisture.
High humidity can cause swelling and damage.
Extreme temperature changes can lead to cracks or gaps.
Here is a table that compares the lifespan of different wall materials:
Material | Lifespan Characteristics |
|---|---|
Magnesium Wall Board | Long-lasting, resists cracking, swelling, and mold. |
Gypsum Board | Breaks down faster, especially when wet. |
Cement Board | Lasts longer than gypsum but may need repairs if wet. |
Tip: Keep your mgo board dry and avoid sudden temperature changes. This helps your mgo walls last longer and stay safe.
You get lots of good things when you pick magnesium wall board for your project. Mgo board keeps fire away, stops moisture, and lasts a long time. You can put it in easily and use it in many places. The table below lists the main benefits:
Benefit | Description |
|---|---|
Fire Resistance | Magnesium wall board does not burn easily, so it keeps buildings safer. |
Moisture Control | It does not let water or mold in, so you can use it almost anywhere. |
Durability | This material lasts a long time and keeps bugs out, so you do not have to fix it often. |
Ease of Installation | Mgo board is simple to put in, so building goes faster. |
Versatility | You can use mgo board for lots of different jobs. |
Eco-friendliness | It comes from natural things, so it is better for the earth and you can recycle it. |
You just follow a few easy steps: clean the area, set up joists, put the boards in place, and finish the surface. Many beginners say mgo board is simple to use and makes walls that are strong and safe. If your project is hard, ask an expert for help with mgo board installation. You stay safe and get the best results when you get help from an expert for mgo board installation.
FAQ
What tools do you need to cut magnesium wall board?
You need a carbide-tipped scoring knife, a dust-reducing circular saw, or fiber cement shears. These tools help you make clean cuts. Always wear safety glasses and a dust mask when you cut the board.
Can you use magnesium wall board in wet areas?
Yes, you can use magnesium wall board in bathrooms, kitchens, and basements. The board resists water and mold. It does not swell or break down when it gets wet.
Is magnesium wall board safe for indoor air quality?
Magnesium wall board does not release harmful gases. It keeps your indoor air clean. Many boards have certifications that show they are safe for homes and schools.
How do you repair small holes in magnesium wall board?
Fill the hole with joint compound or non-shrinking caulk. Place fiberglass tape over the spot. Sand it smooth after it dries. Prime and paint the area to finish the repair.
Does magnesium wall board need special paint?
You should use an acrylic-based primer before painting. Choose high-quality acrylic or latex paint for the best results. This helps the paint stick and protects the board.